You must understand that any "" can be assembled in any silicone (and sometimes metal) forms. We show the cake in the shape and design that seems most logical to us, but if you don’t have the right shape at hand, take any other. For example, this dessert will come together equally well in forms from the manufacturer Silikomart (it is considered professional, it is used by restaurants around the world). I always have a decent assortment of forms in stock, you can. In addition, instead of cakes, you can collect a cake (or several), the recipes are the same. And here are the forms themselves, the finished product and its geometry are always visible on the boxes: 
In our today's dessert there will be not only the cake itself, but also the base of the saber (sand dough). Therefore, under the form (its silhouette), we select cuttings. Round for and oval for . Let's say you use molds with a different geometry, then try to choose the appropriate cutouts.


Saber
What is a saber? This is the basis for our shortcrust pastry cake. It is prepared simply and, in principle, unpretentious. The obvious advantage of using it is that it is more convenient to eat such a cake with our hands - we eat it together with the stand on which it stood. Probably, we all made shortbread at least once, so there should be no problems with it. The only point is that we take high-quality butter with a fat content of 82%. 
Separate the whites from the yolks. Yolks (70 g) are transferred to a bowl. Pour in the same sugar (112 g). 
Beat the mass well and thoroughly so that it increases in volume and brightens. Whisk attachment. You can do the same with a hand mixer. 
Add butter (112 g). I took cold, which I chopped into small cubes. In general, there are two technologies: add cold oil or room temperature. Using the first saves time. 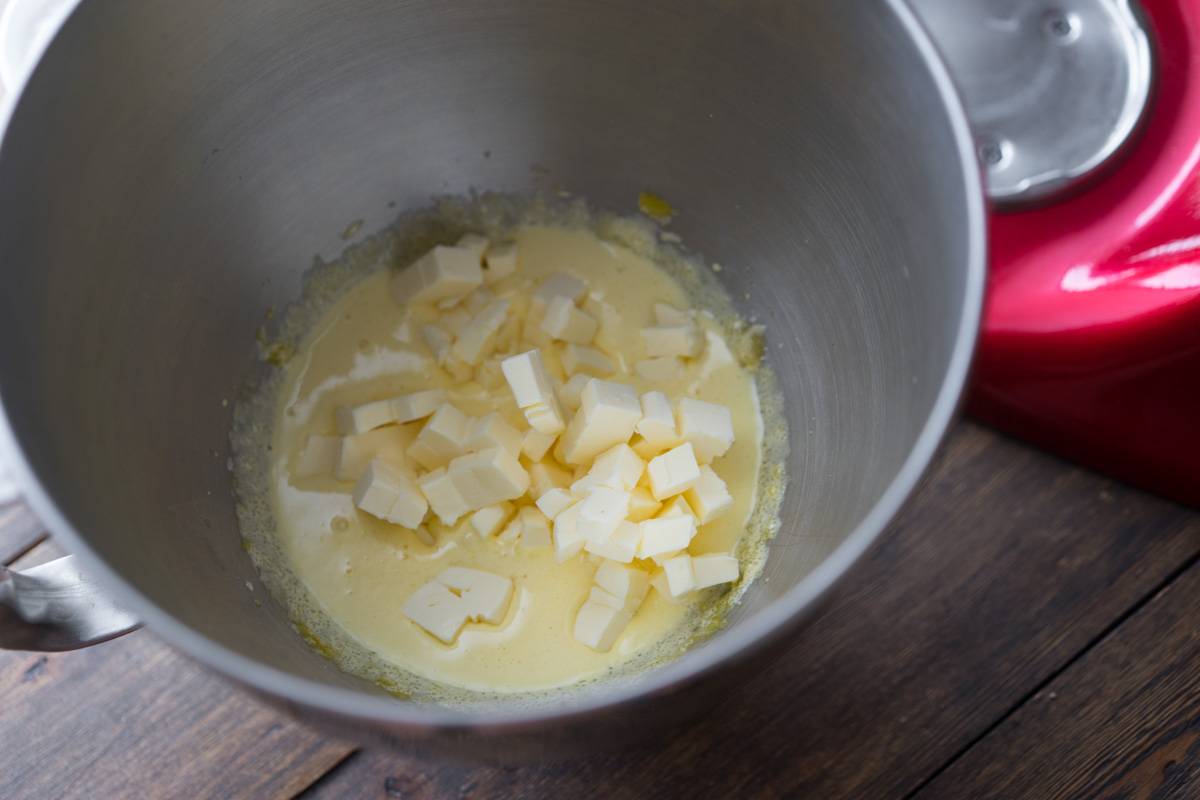
Beat at medium speed with a paddle attachment. The idea is that you need to work quickly and minimally touch the future dough. On a hand mixer, use the spiral attachments. 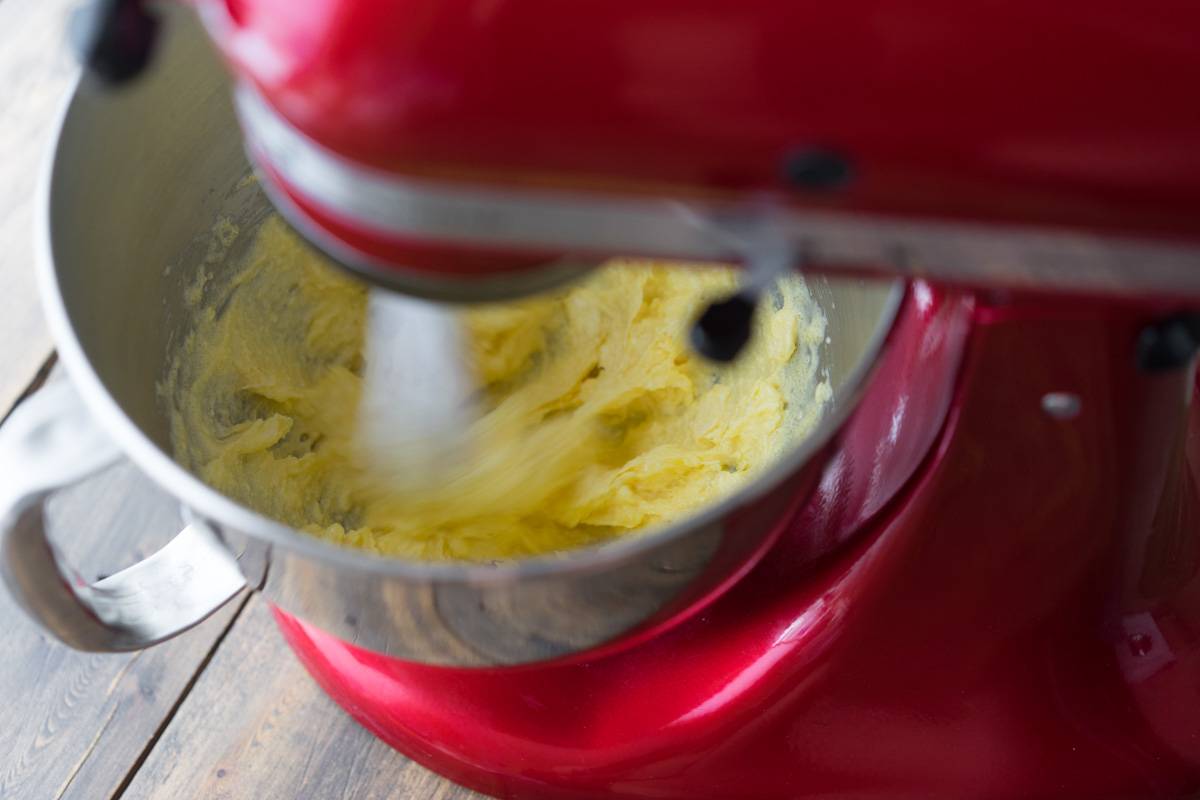
Pour flour (185 g) and baking powder (5 g). If in doubt about the quality of both, sift through a fine sieve a couple of times. 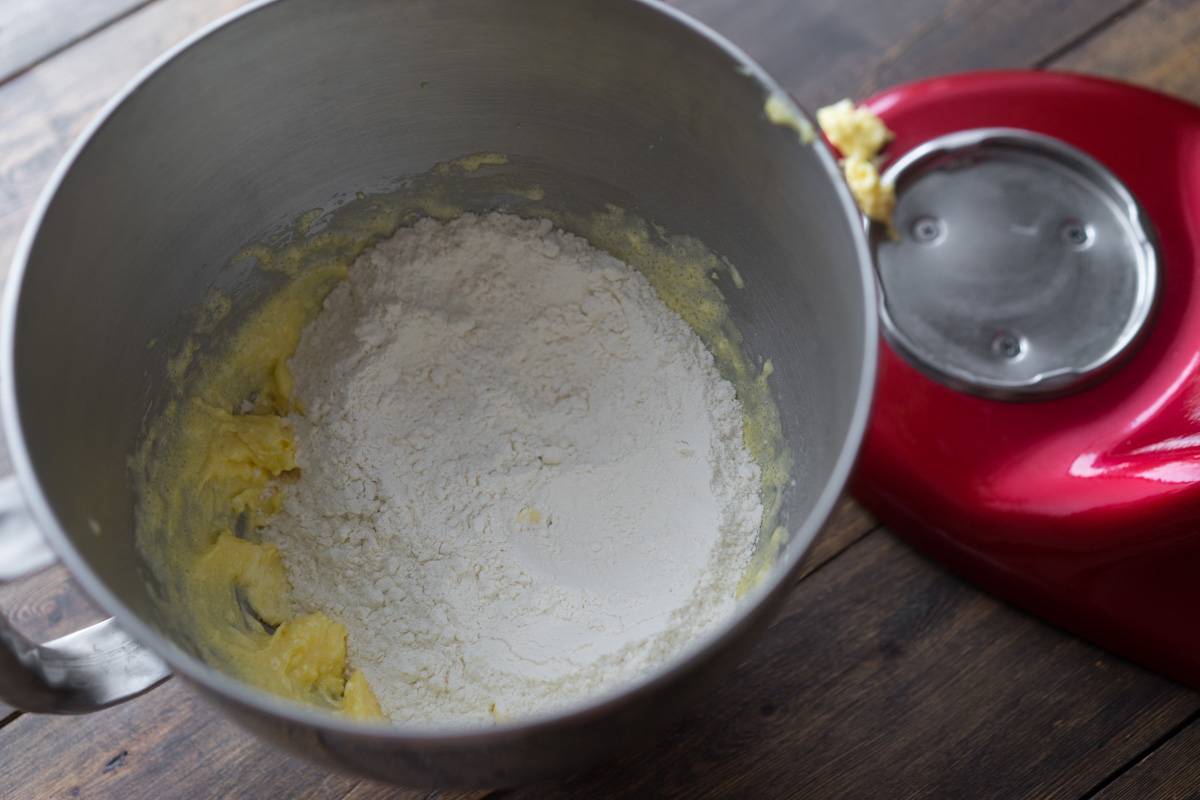
Knead again with high quality at medium speed (so that gluten does not develop in the flour, which will make the dough “rubber”). 
In a couple of minutes you will have a homogeneous obedient paste. 
Transfer it to parchment. 
Cover with a second sheet and roll out the dough with a rolling pin to a thickness of 3 mm. Work quickly, with cold tools, and touch the dough less with your hands. 
Here's what should happen. We remove the dough in the refrigerator for half an hour. 
After half an hour, we take out the dough, carefully transfer it to a silicone mat (we will bake the blanks on it). If there is no rug, do everything on parchment. Pick the right size cutout. Our cake itself will be in the shape of a Pillow (oval), which means we also take a larger oval cutout. French chefs recommend dipping the carving in starch, and only then cutting out the blank. It seems to be more accurate this way. 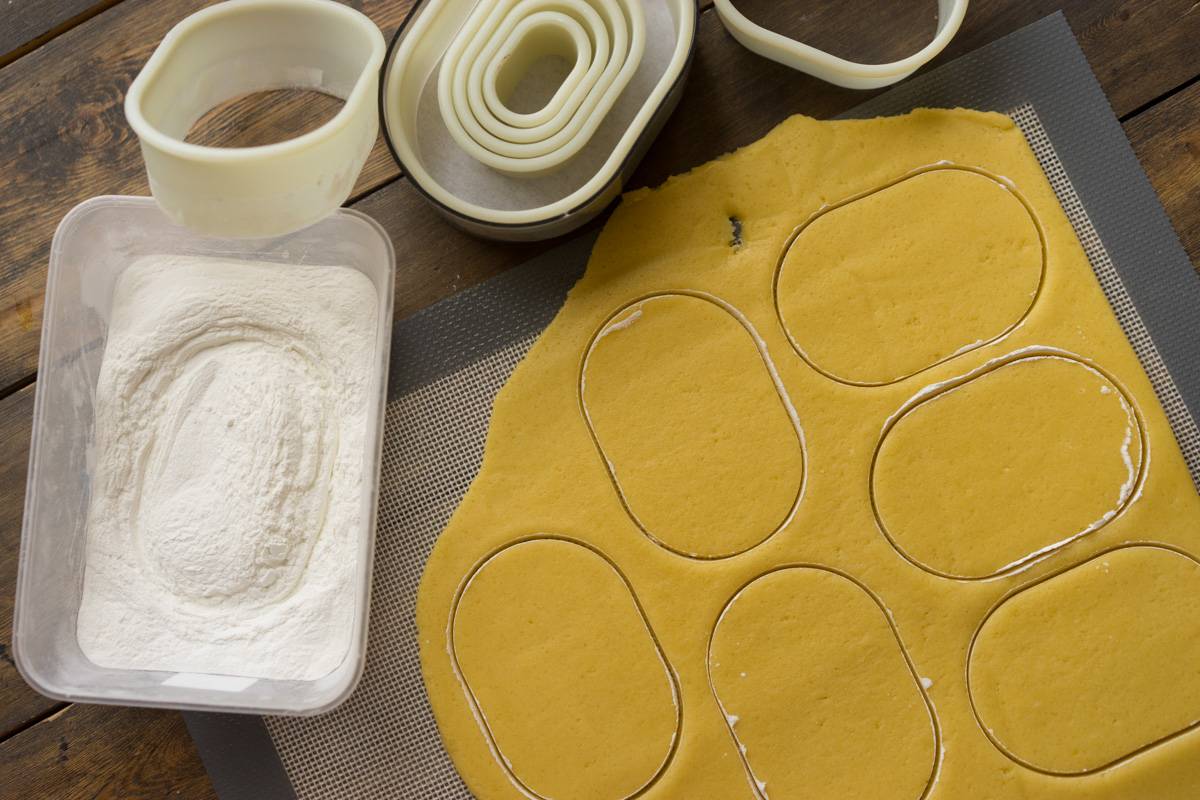
Poke holes with a fork (to prevent the dough from bubbling). 
Remove the rest of the dough with a spatula. The collected dough can be reused, just repeat the procedure again (rolled out the layer, cooled, cut out the shapes). Put the blanks back in the refrigerator for another half an hour. 
Bake at 150 degrees for 15-20 minutes. Until ruddy. During the baking process, the workpieces may begin to swell, but then they will again take on the initial thickness. Let them cool and store in an airtight container. From this amount, you can make about 15-18 blanks for cakes or a couple of large layers for a cake (16-20 cm in diameter). Unused dough can be frozen.
coffee cream
Kreme (accent on the last syllable) is also called kreme or even kreme. There is only one idea - this is the type of filling, which is most often stabilized with butter. That is, we do not take gelling agents (agar, gelatin), but we get a stable mass, which we set the shape. Such a filling, obviously, turns out to be much more tender and softer. And at the same time we will learn how to flavor the cream. 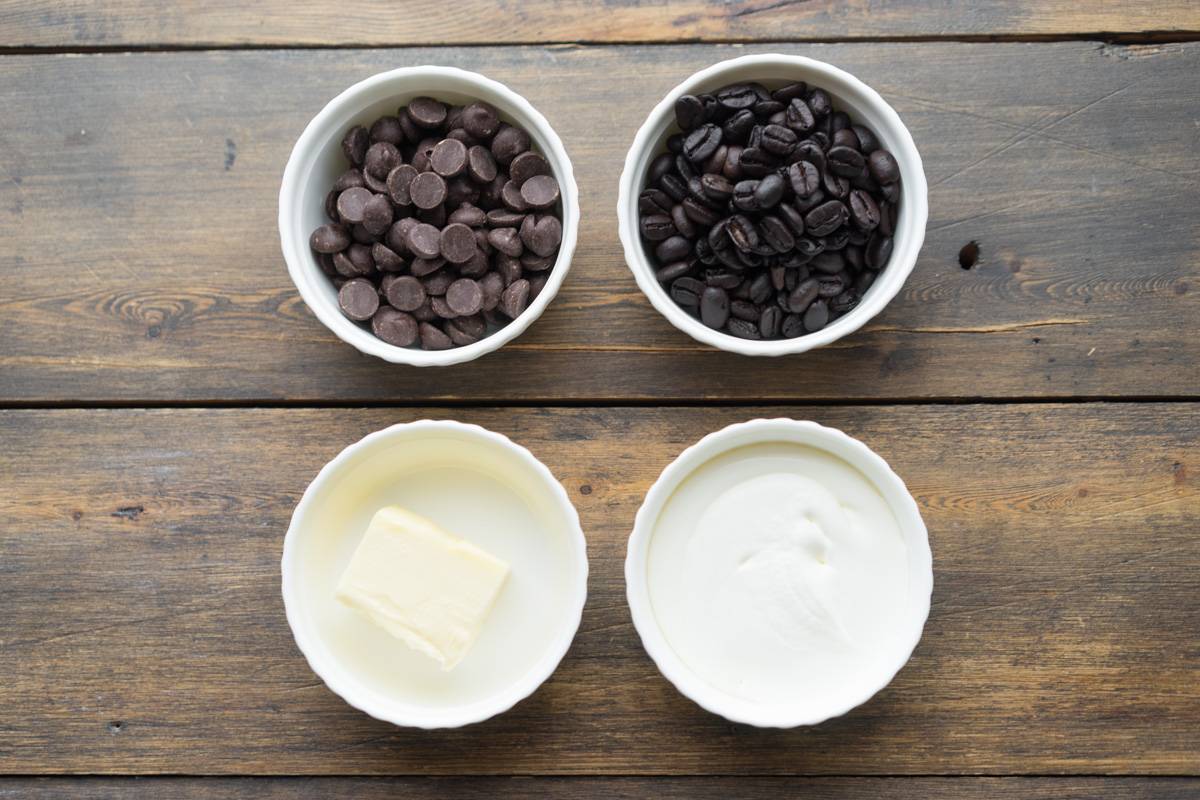
Pour cream into a saucepan (200 g, fat content not lower than 33%). Pour coffee beans (30 g). If you make desserts with a different taste, coffee beans can be replaced with anything that is equally fragrant. It can be dried lavender flowers, tea, buckwheat and so on. 
We put the cream on the fire. Bring to a boil. Remove from heat, cover with a lid and let steep for 10 minutes. This is the so-called hot flavoring method. 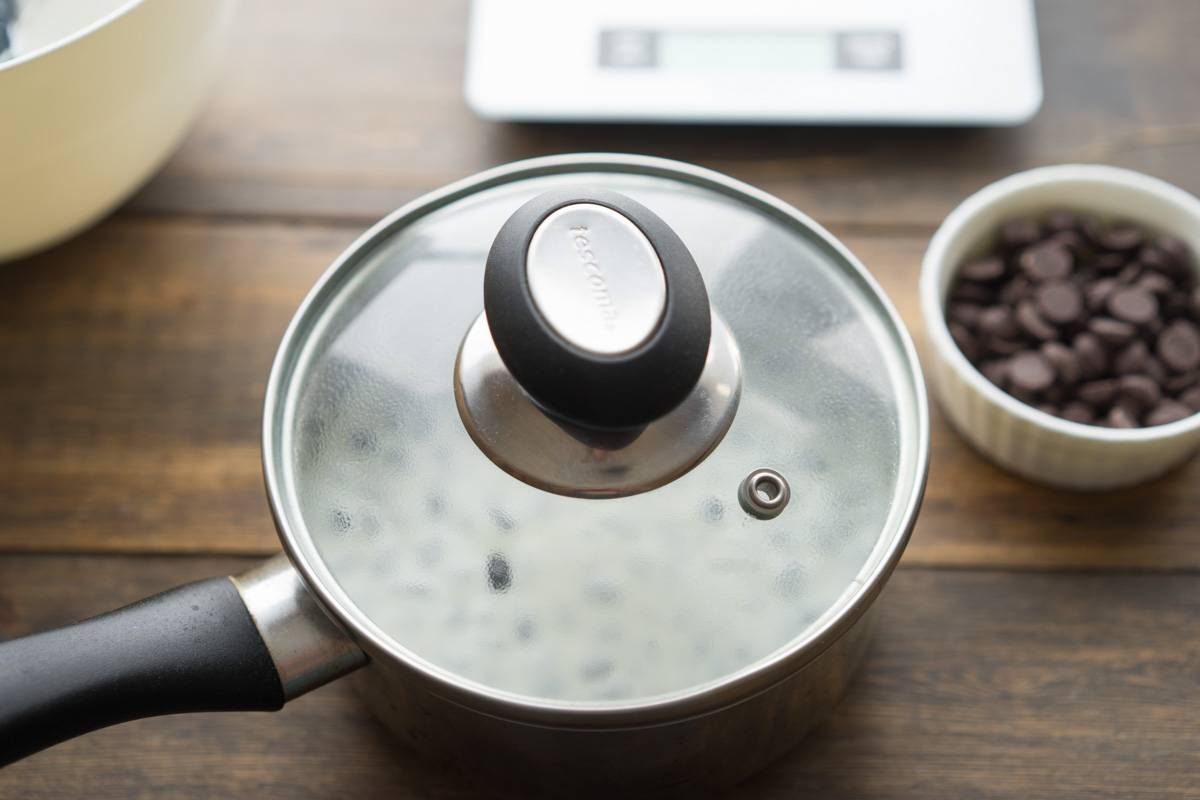
Prepare a bowl of milk chocolate (160 g). 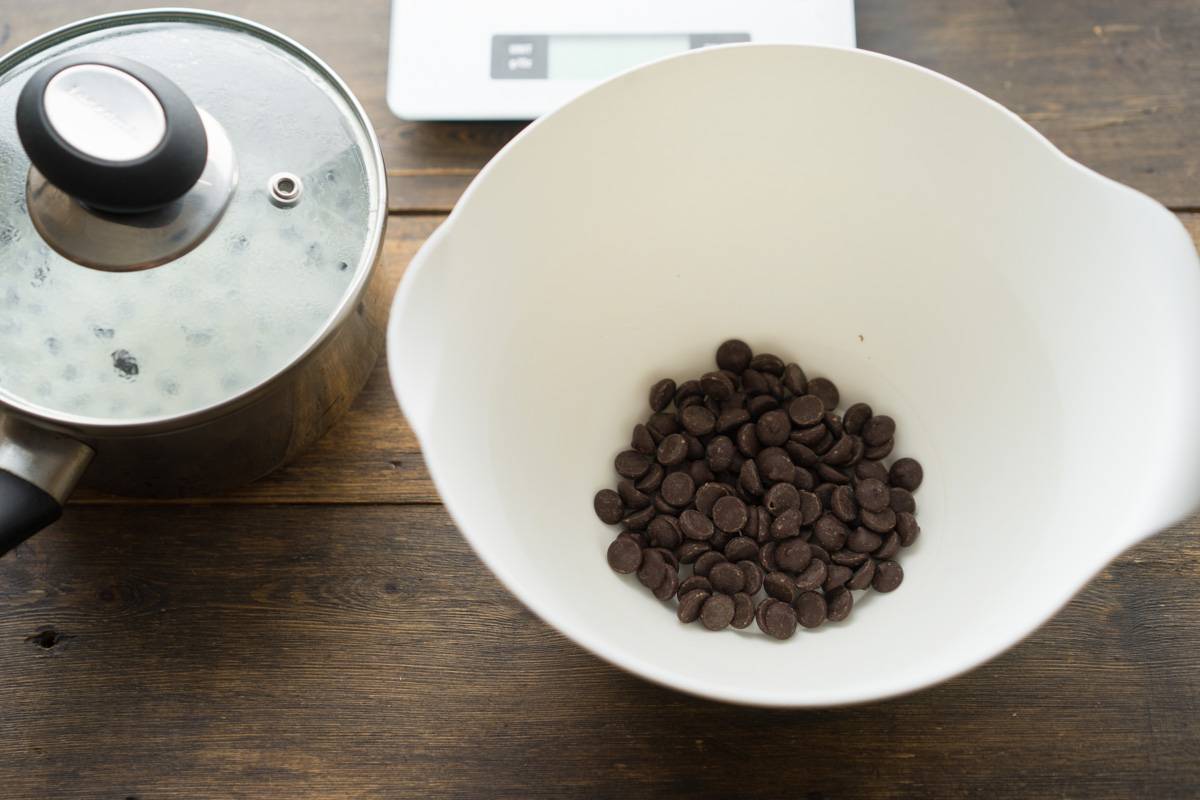
Pour the cream into the chocolate through a sieve. It will just collect grains (or herbs). 
Make an emulsion, trying to mix the mass thoroughly with a whisk. Flakes will appear first. But gradually the mass will become homogeneous. Already here I use a spatula to collect the mass in the cup from the walls as much as possible. 
Wait until it reaches 40 degrees. 
Enter cold butter (50 g). 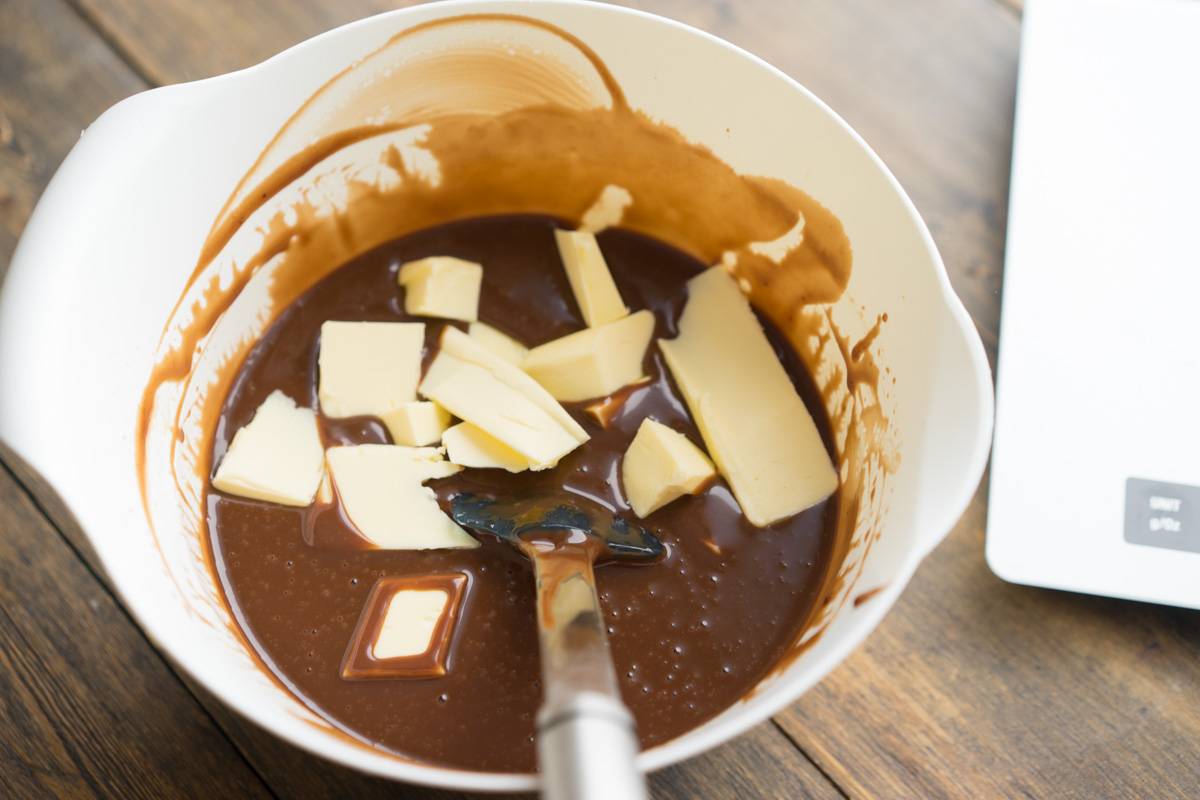
Mix everything thoroughly again. And blend with a hand blender. You should get a completely homogeneous mass. 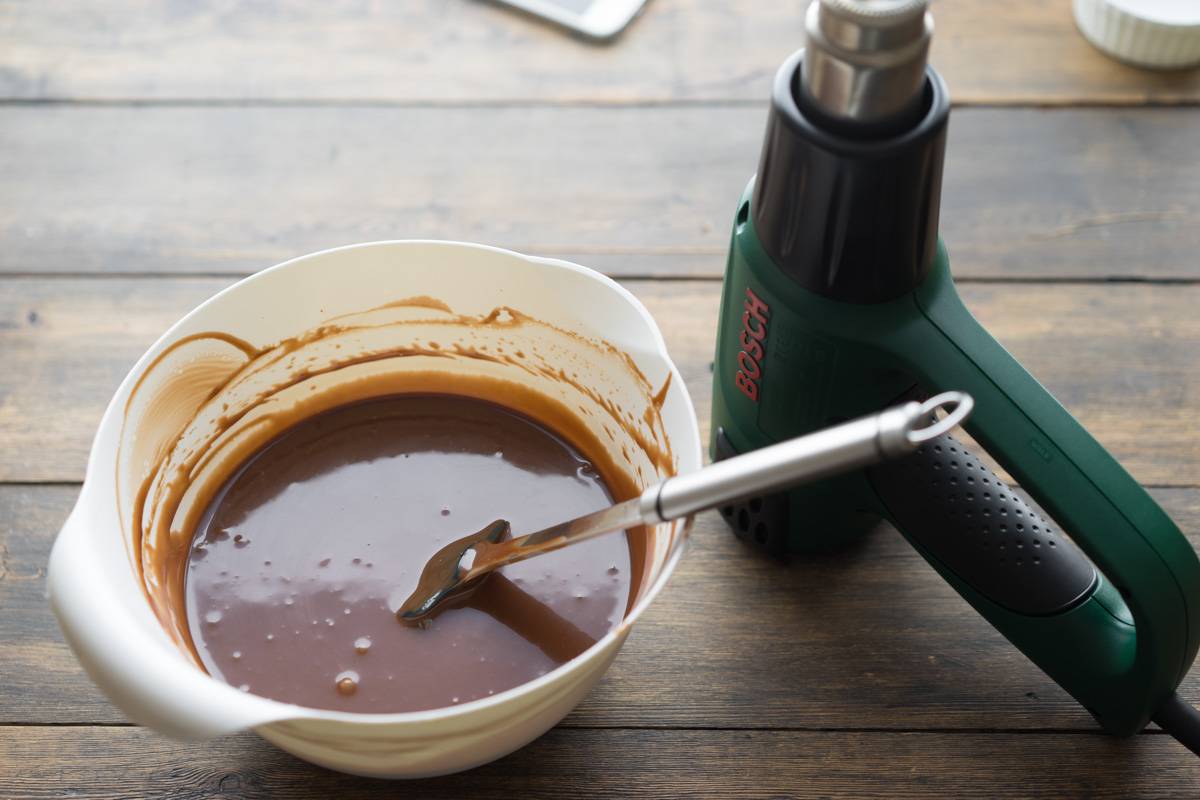
Pour it into a silicone mold. I took a rectangular one. You need to achieve a layer height of 4-5 mm. It is better to put the form in a baking sheet so that the geometry is not disturbed during the transfer to the freezer, all the same, silicone forms are quite soft. You can use a metal mold lined with cling film or metal rings (squares) that also have cling film instead of a bottom. 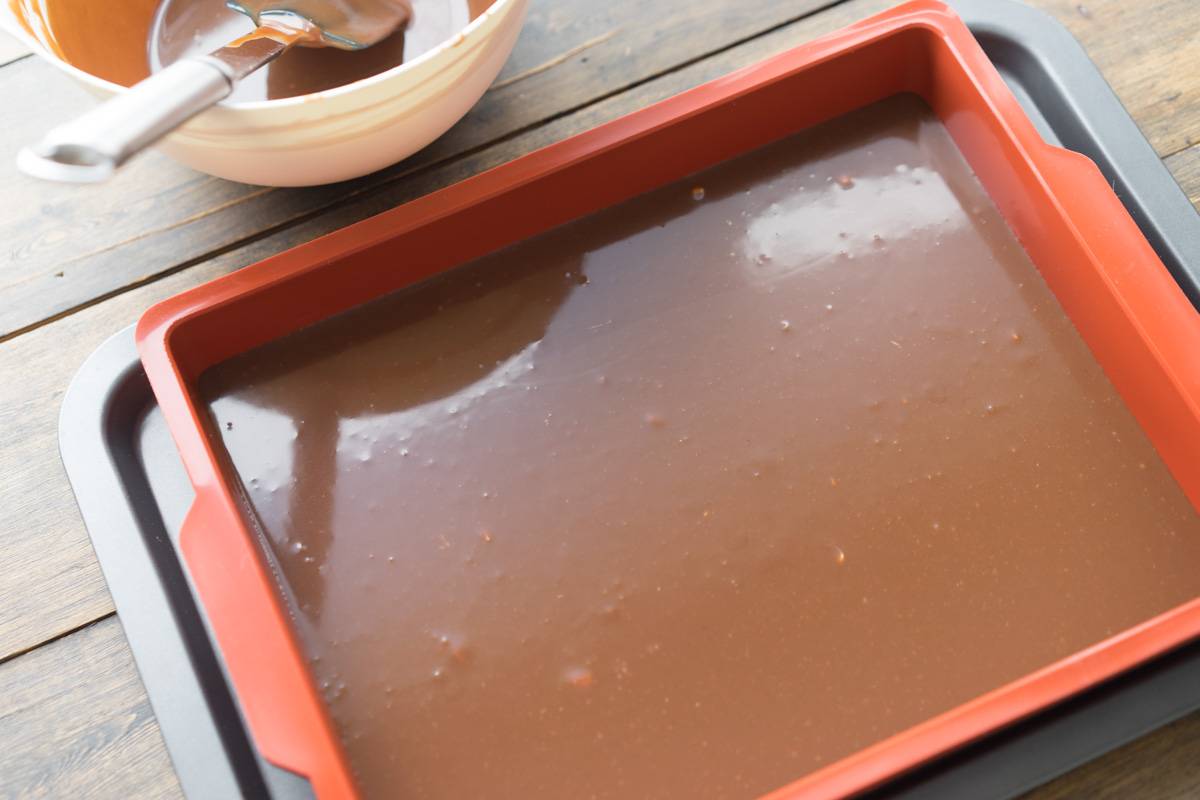
We put it in the freezer. The cream must be completely dry.
coffee filling
The coffee filling will be less dense, more airy. Therefore, at first we filled it with cream, and the coffee filling will go on top. 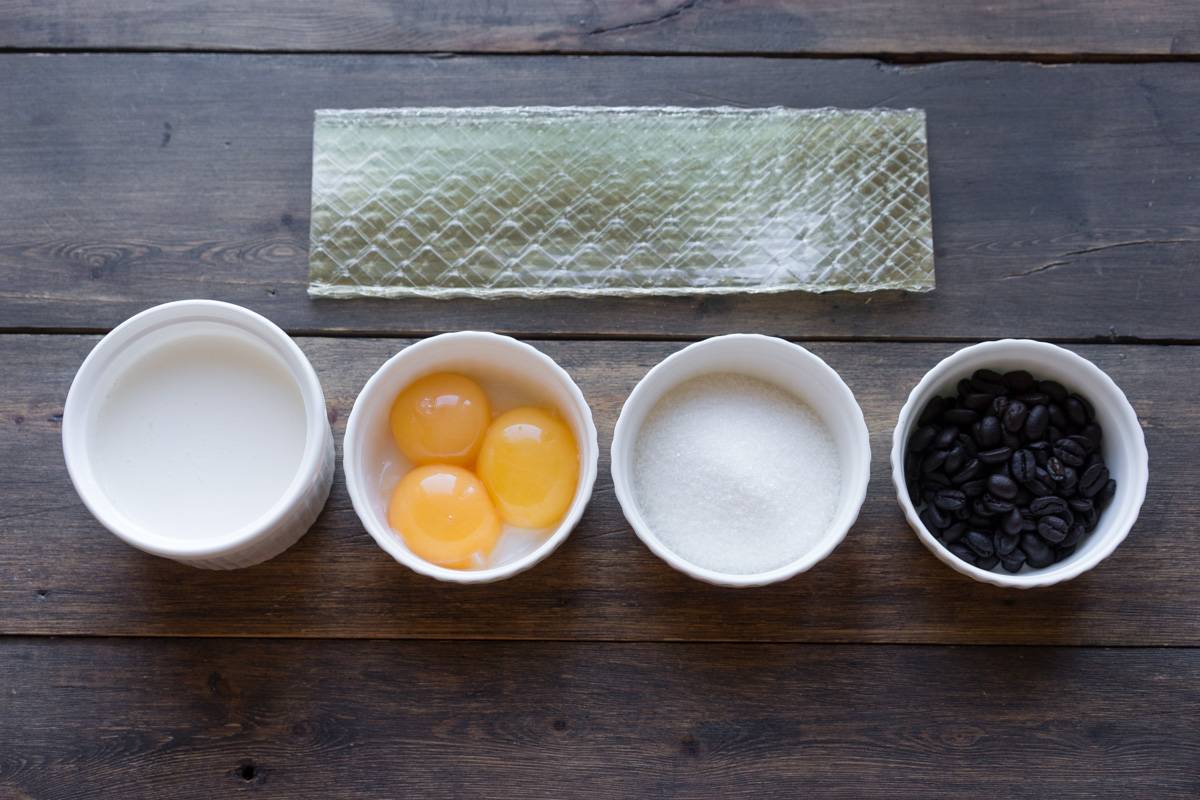
Leaf gelatin (6 g). Soak in cold water. You can also take powder (it is diluted in a ratio of 1 to 6 with water). Pros soak gelatin like this - pour water into a glass and twist the gelatin. They drop into the water. Fast and no cutting required. 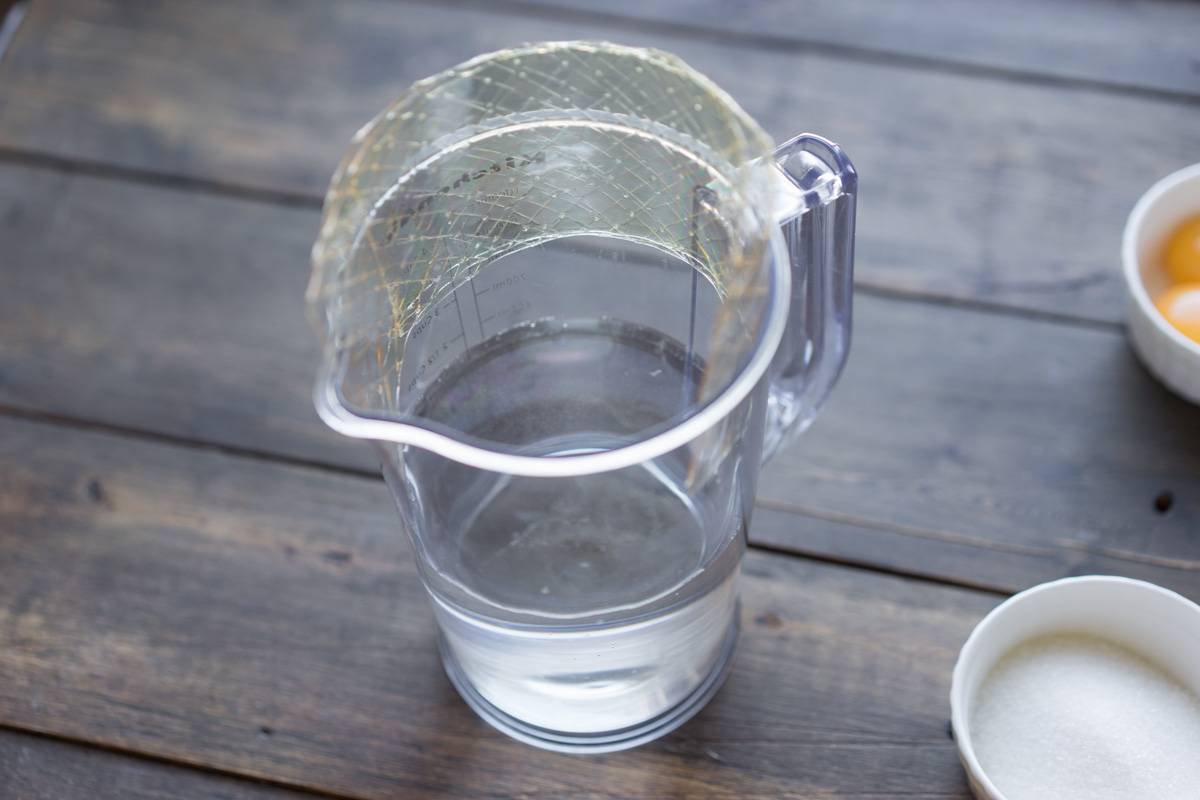
Then we again flavor the cream (300 g) with coffee beans (40 g) in the usual way. Bring to a boil, remove, cover with a lid and wait 10 minutes. 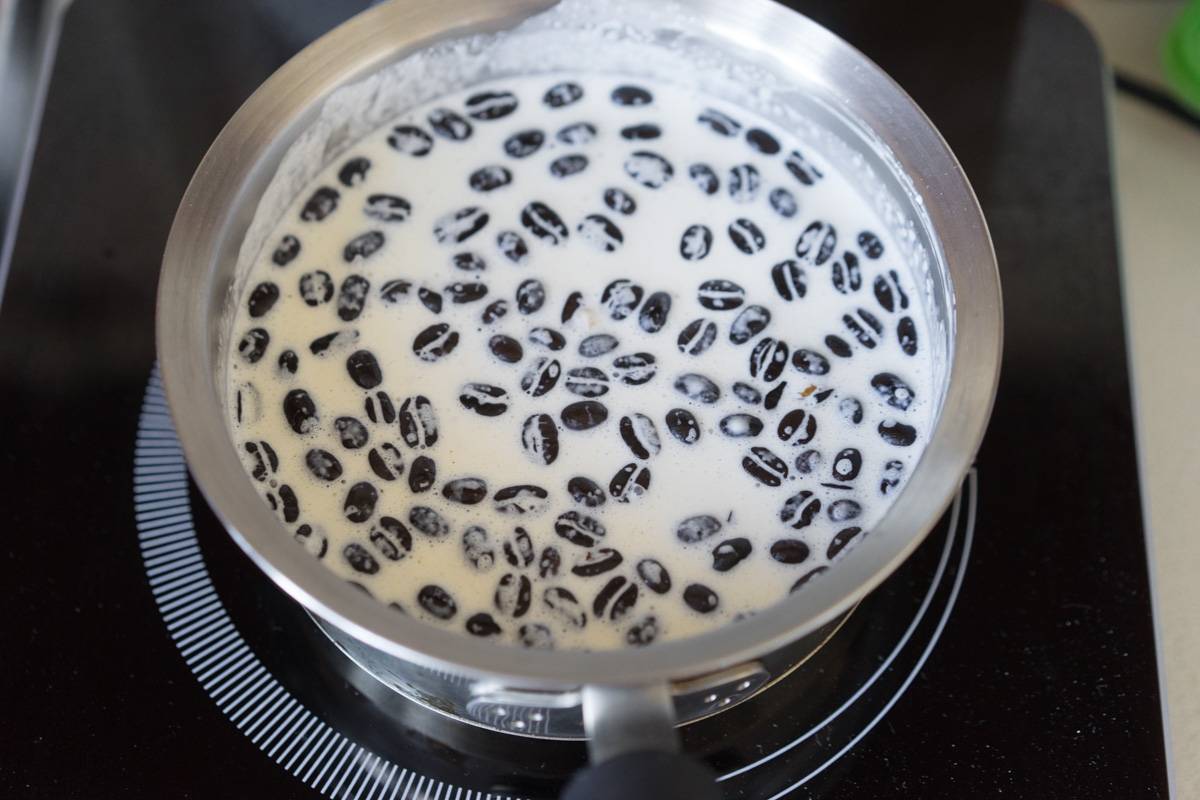
We strain the cream. 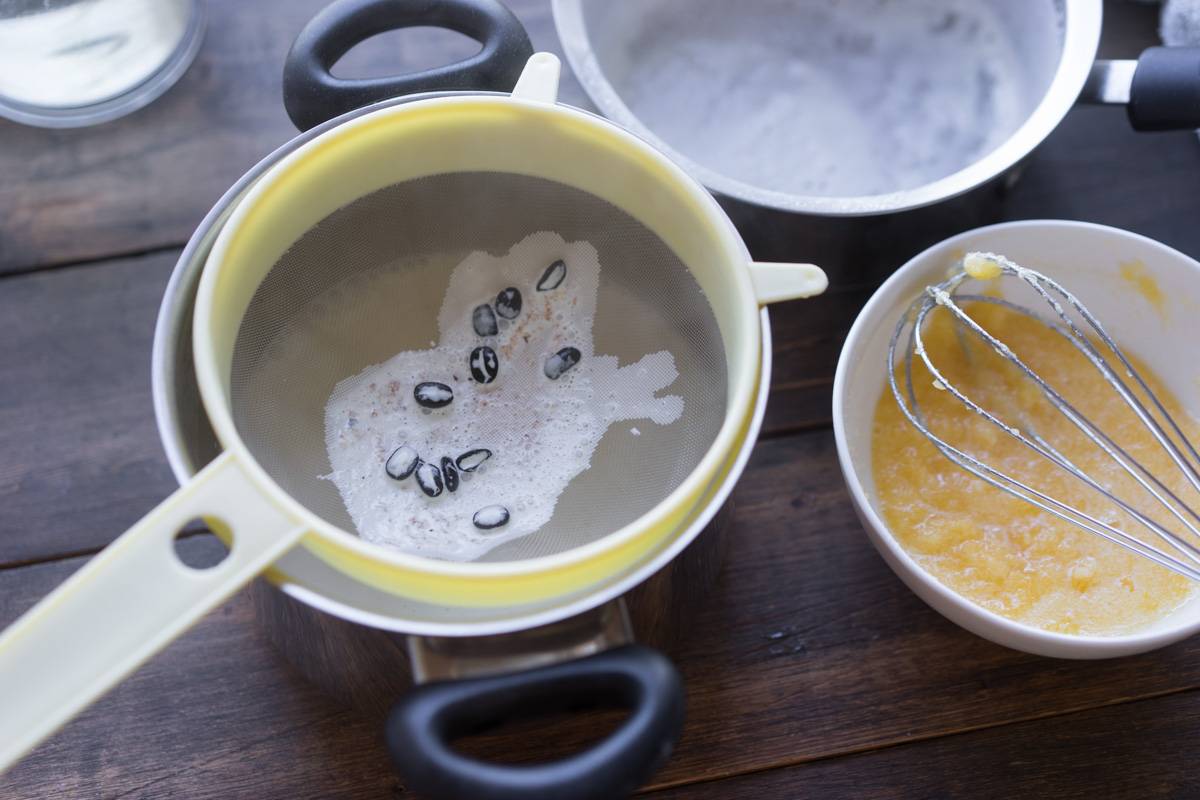
Now we are preparing an English cream or Anglaise cream. To do this, mix the yolks (30 g) with sugar (75 g). And whisk well. 
Gently fold the yolks into the cream, stirring constantly with a whisk so that the yolks do not curdle. Warm up the mass to 84 degrees. 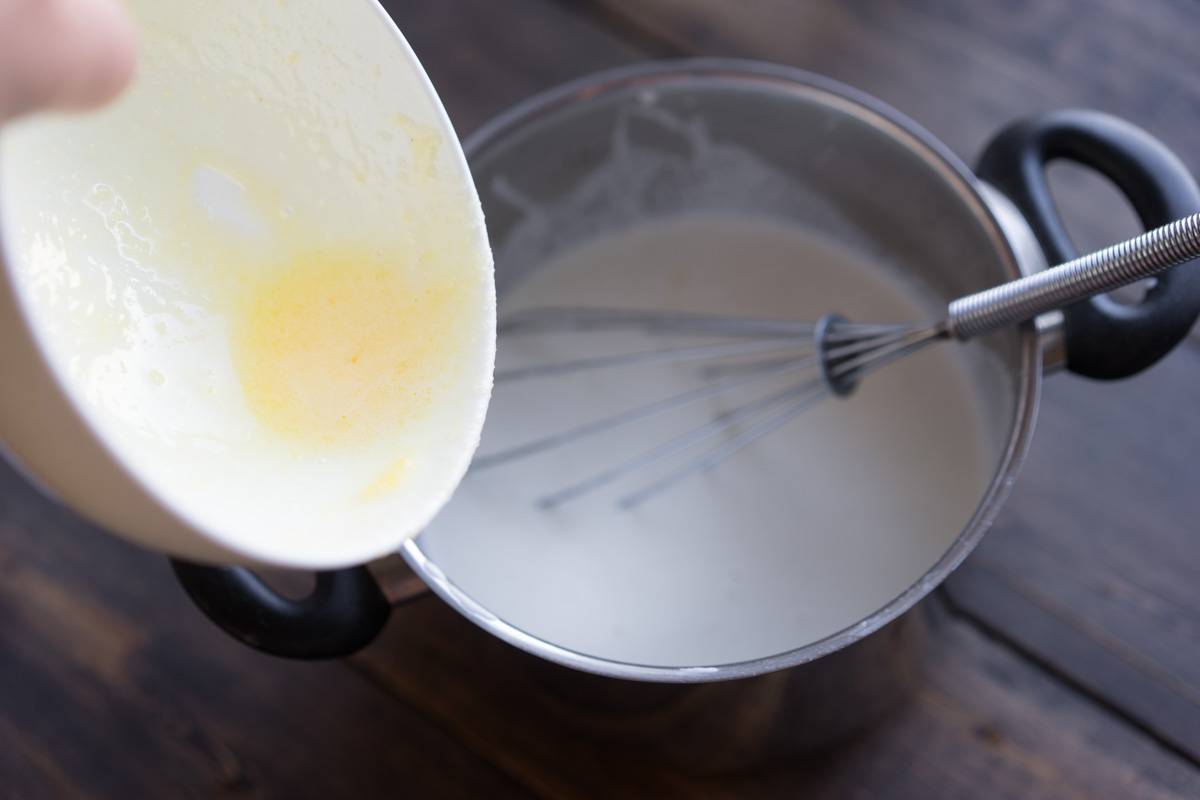
The mass should thicken a little. This is not a custard in which the spatula stands. We need to achieve a light density. If you dip a wooden spatula and run your finger, a clear mark will remain. In this case, the cream will be liquid. That's what we need. 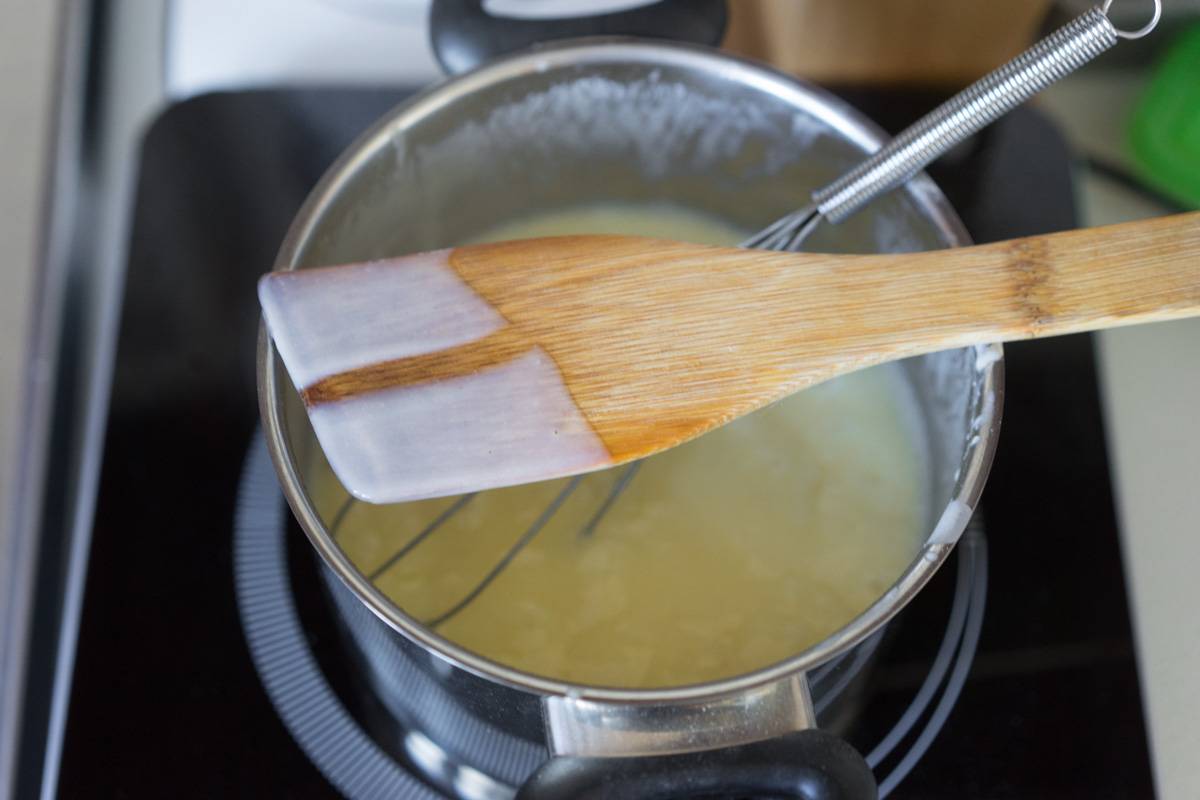
Add a little dye to the resulting mass. This is just an accent that will look organic in our dessert. If you are flavoring cream with lavender, for example, it is wise to use purple dye, and so on. 
Mix well until the desired color is obtained. 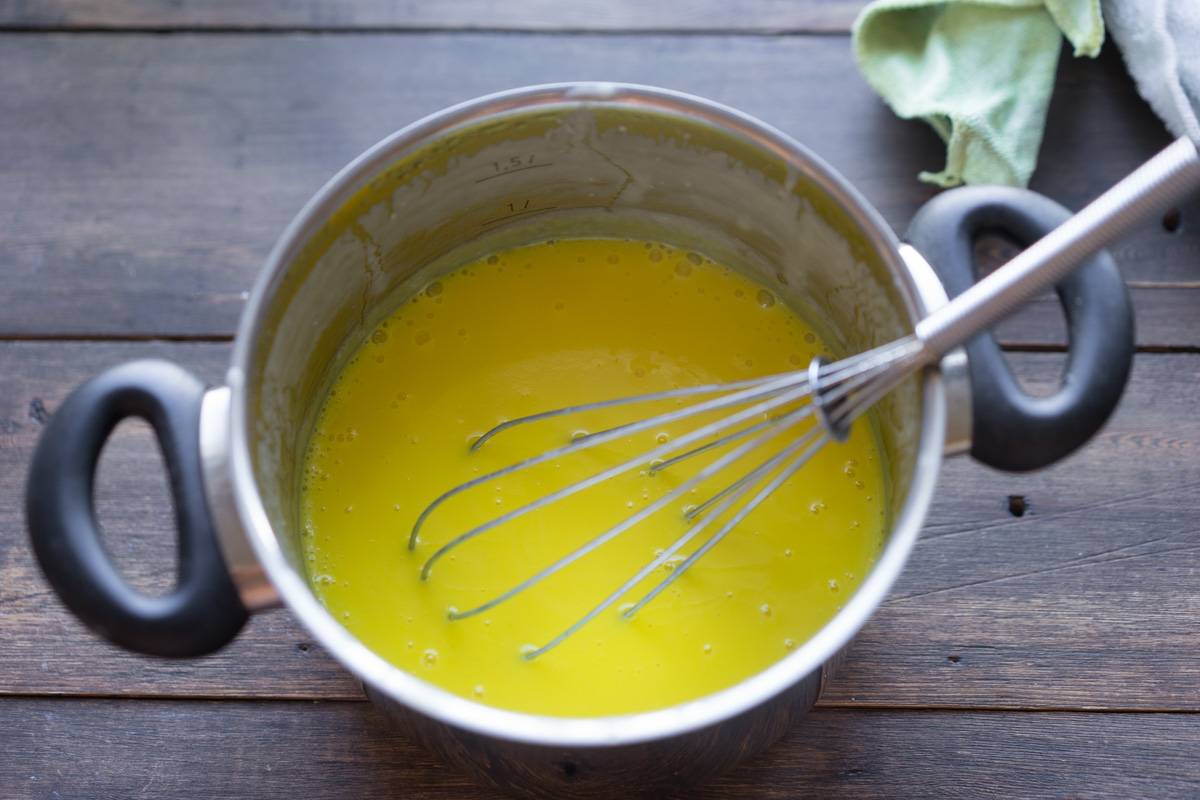
Add gelatin and mix everything thoroughly. 
We will pour the filling over the coffee cream. 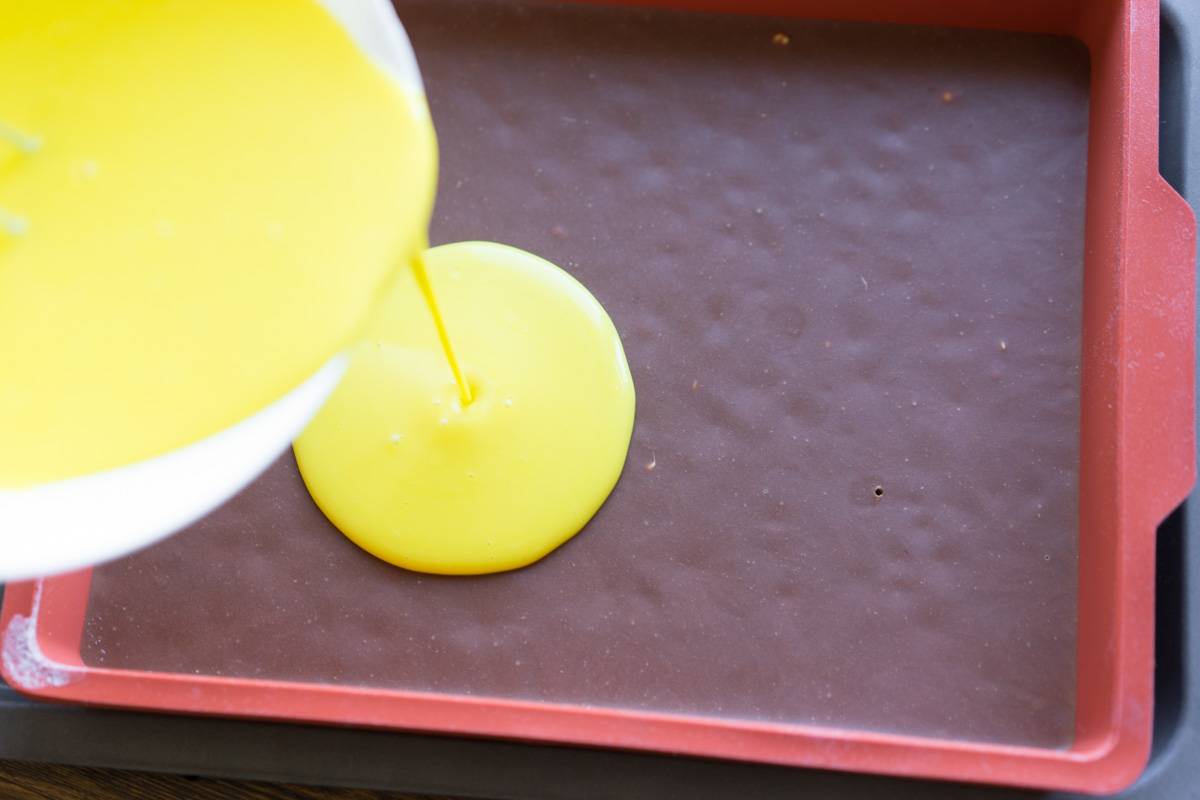
The layers should be about the same height, or the filling should be a little higher. 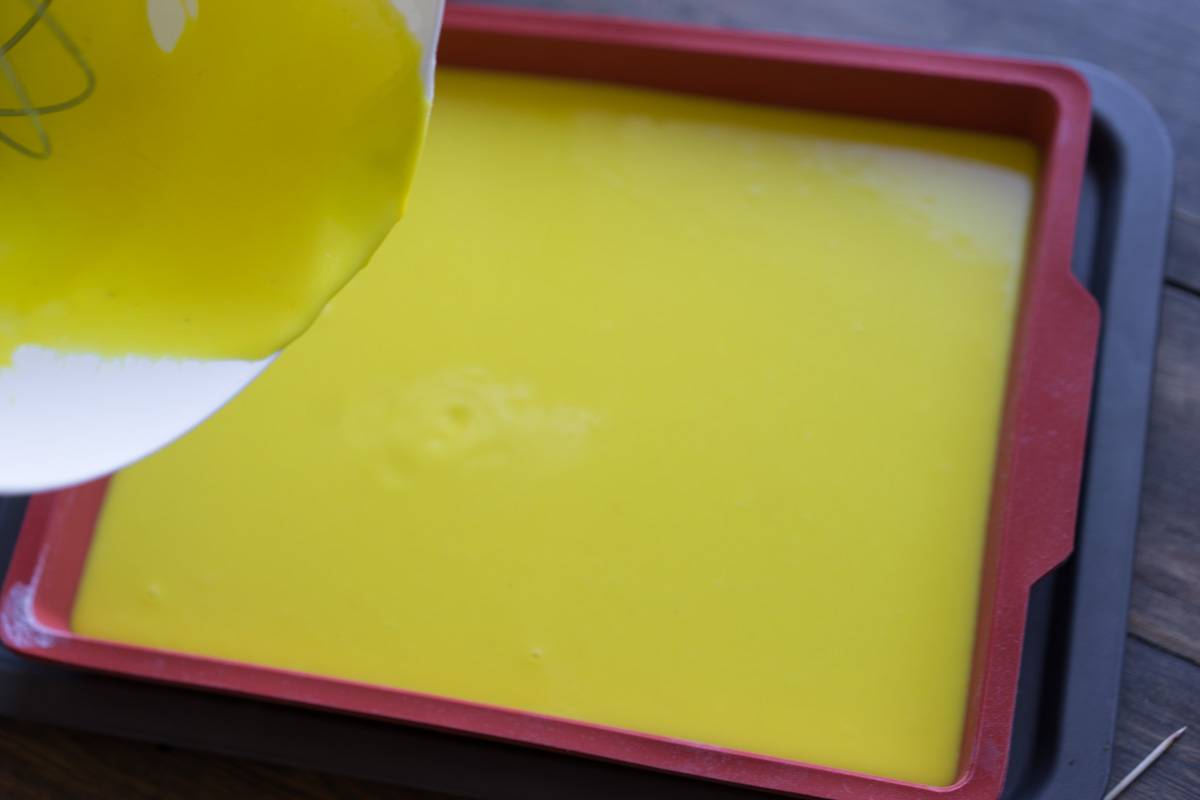
Put everything back in the freezer.
coffee mousse
We start preparing the mousse only when both fillings are completely frozen, that is, not just cooled down, but become ice.
 We make mousse on milk chocolate and also flavor with coffee beans, but in a cold way. To do this, combine cream (150 g, fat content 33%) and milk (150 g, fat content 2-3.5%) in a saucepan with coffee beans (40 g). Put in the refrigerator overnight. During this time, cream with milk is also flavored.
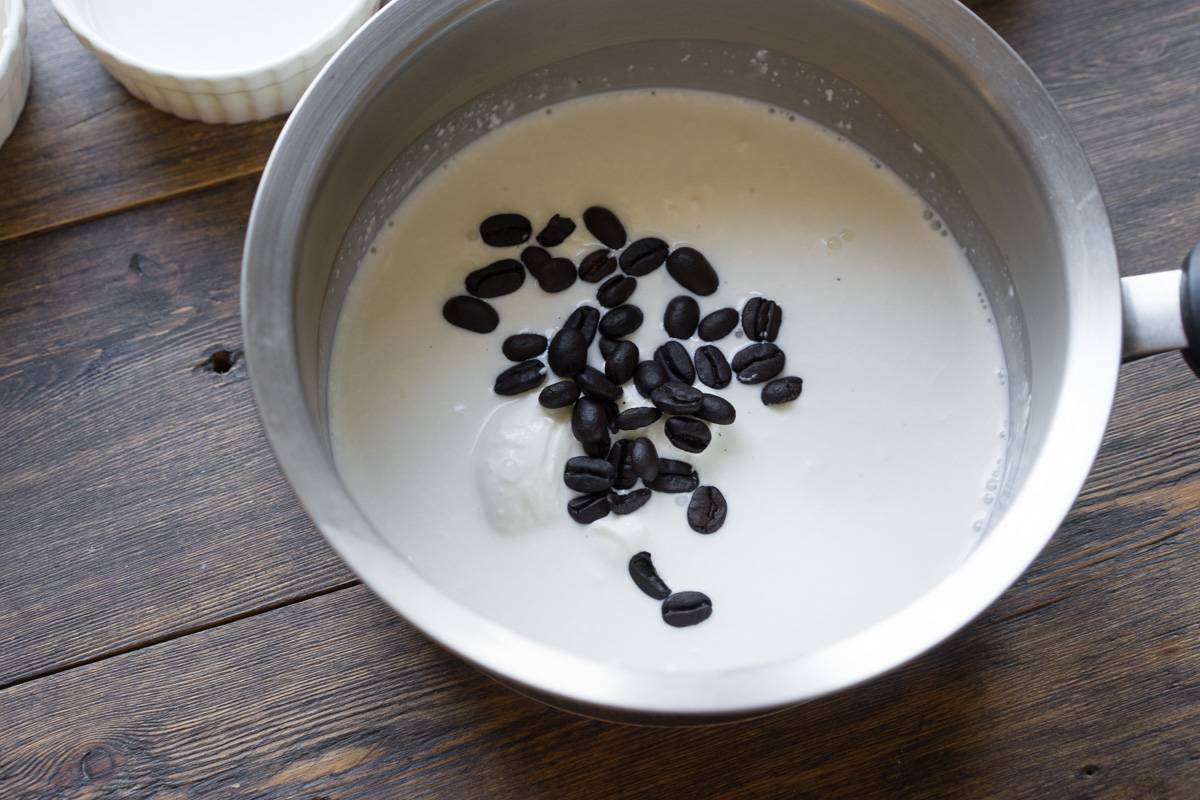
We make custard again. To do this, combine the yolks (56 g) and sugar (28 g), mix well. 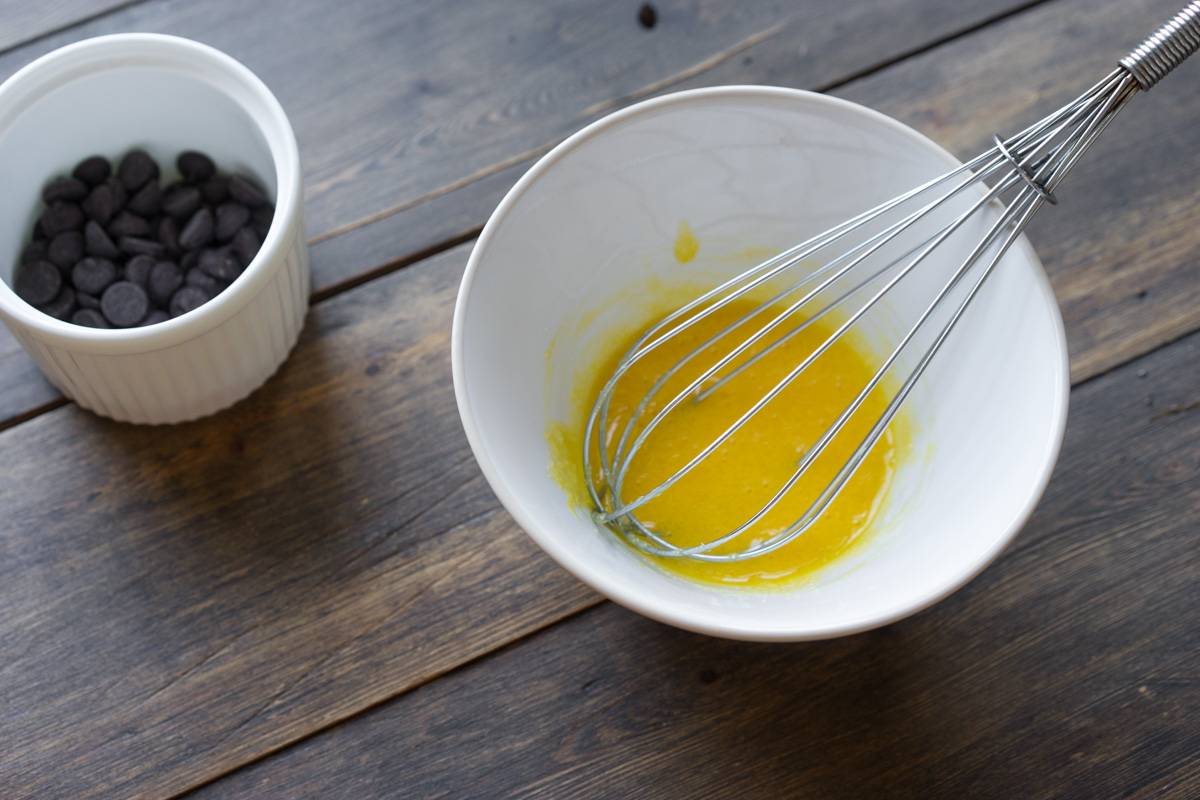
Soak gelatin (6 g) in water. 
Melt milk chocolate (490 g) carefully. By the way, if there is no milk, just combine white and dark in the proportion you like (for example, 1:1). Melt in the microwave for 15 seconds. After each pulse, remove the bowl and stir the chocolate. At first it will seem that nothing is changing, but gradually it will “float”. If you pulse longer or don't stir the chocolate, you run the risk of overheating the chocolate, causing it to clump and have to be discarded. Help yourself with a hairdryer. 
We cook cream. We heat the strained creamy milk mass. 
Again, the yolks with sugar, we introduce them into the total mass. Stir vigorously so that the yolk mass does not curl. 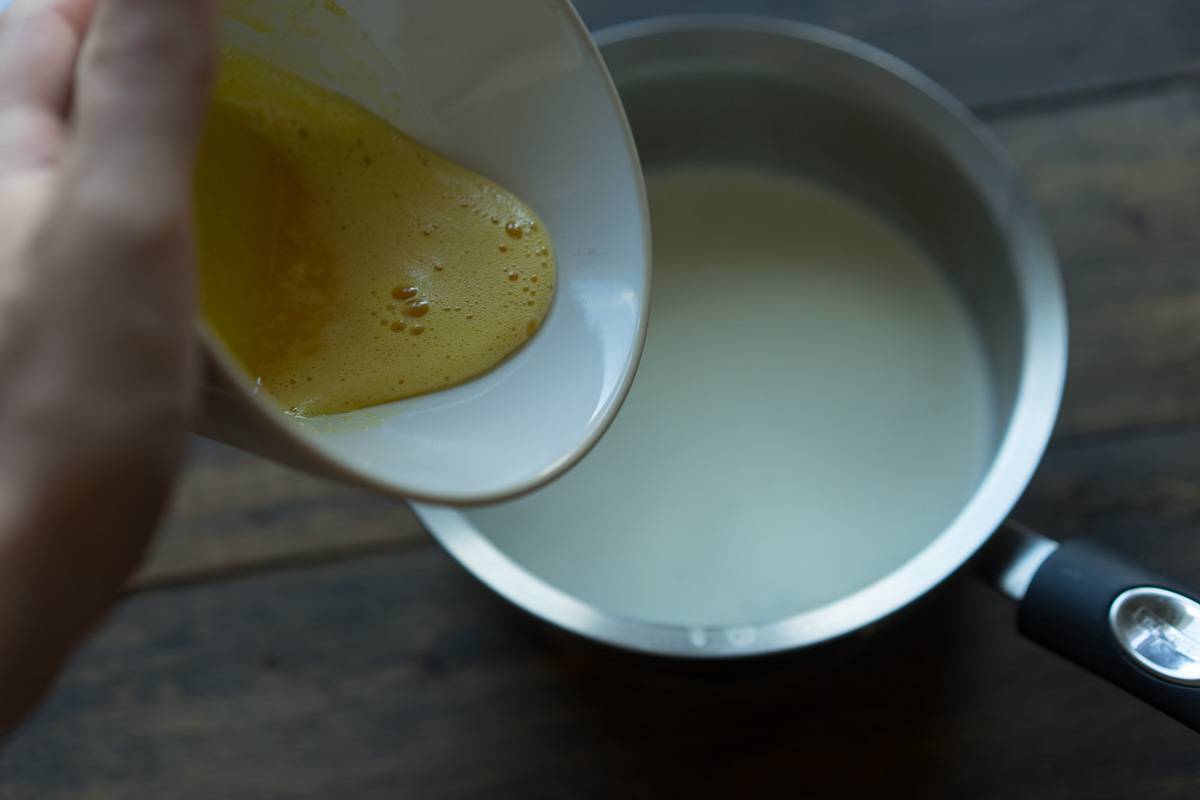
Stir with a whisk until you get this consistency. 
We combine the melted chocolate and the resulting cream (it needs 300 g). Add gelatin. 
Punch with a hand blender. 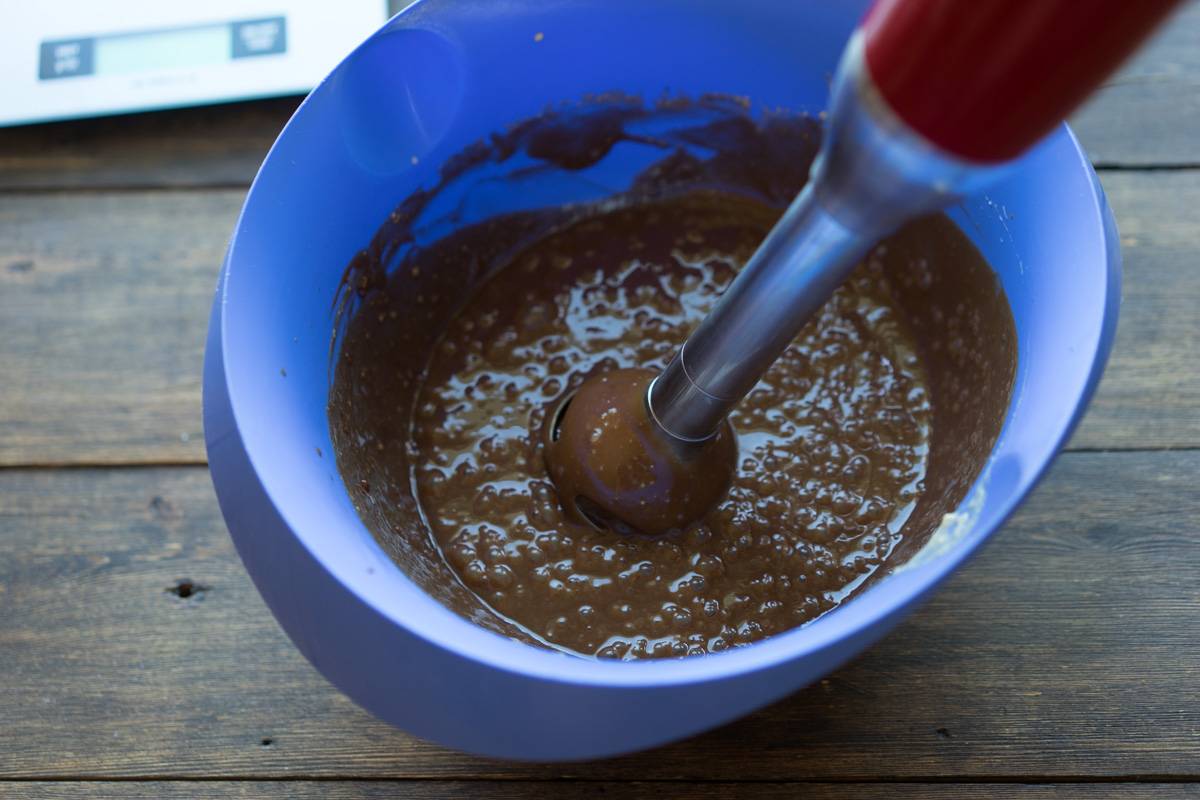
Whip cream (450 g) until soft peaks. That is, they are no longer liquid, but not dense either. 
When the chocolate mass has cooled slightly, carefully pour it into the cream. A thin stream, stirring. Use a whisk, and with a spatula, collect the mass from the walls. 
Mix and start assembly. Pour the mousse into the cells by half. This amount is enough for 15 cakes (Stone or Pillow) or a couple of 16-18 cm cakes. You can fill from a glass with a thin spout or from a pastry bag. 
We remove the mousse for 5 minutes in the freezer, this is necessary so that the filling does not drown in it. At this time, we take out our fillings, take them out of the mold. We cut strips about 2 cm wide. If you collect in round shapes, use round cutouts of the desired diameter. 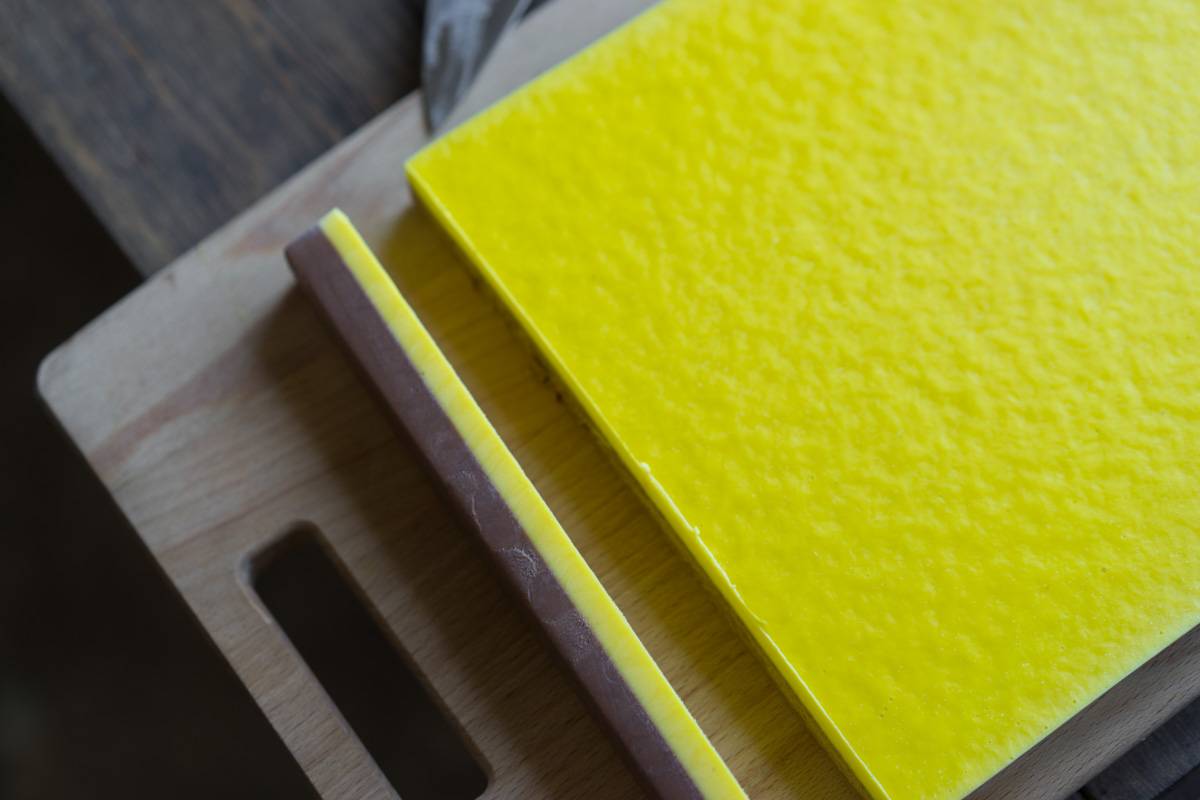
We cut long strips across so that they fit into the molds. 
We put the filling in the half-filled cells (yellow side down). Pour in the rest of the mousse. Be careful, we do not need voids, so tap the pan with the form on the table and add (if necessary) mousse. The toppings can be drowned so that the mousse closes from above or left on the surface (as in the upper left cell). It's a matter of cutting. 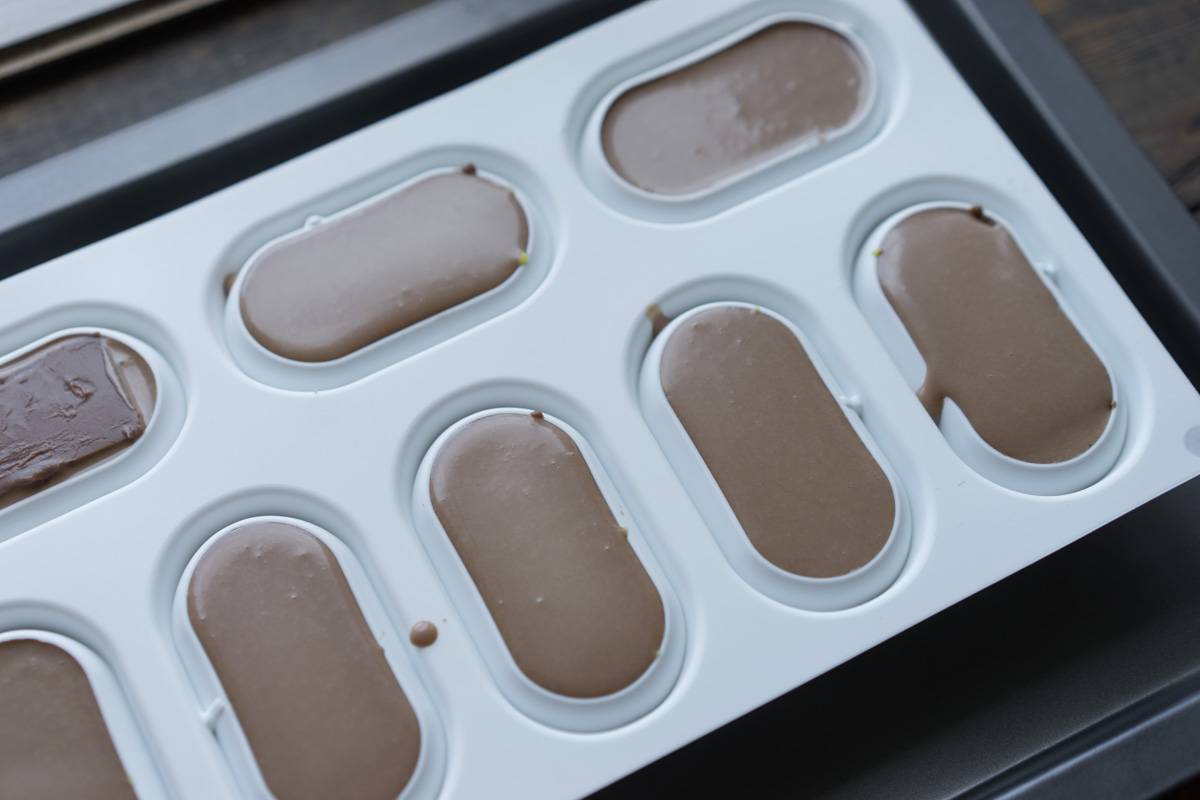
Everything, put it in the freezer for 5-6 hours. Cakes for the night.
Caramel mirror glaze
This icing is fairly easy to make, has the fewest problems, and has a nice caramel flavor. If you had difficulties with past glazes, then this one almost 100% gives the correct result.

Let's start again with gelatin (15 g), which we soak in cold water. 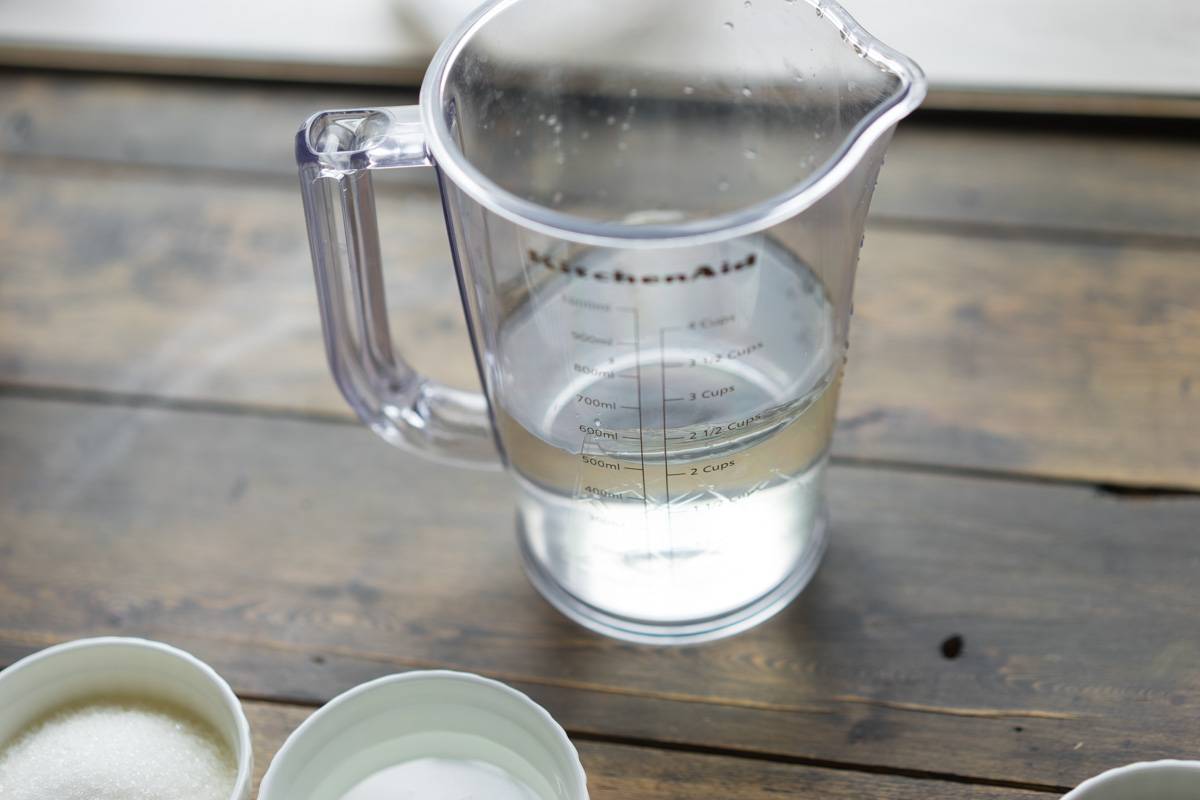
In a saucepan, combine sugar (263 g) and (200 g). Can be replaced with molasses, invert syrup or glucose. 
In another pour cream (300 g, fat content 33%). 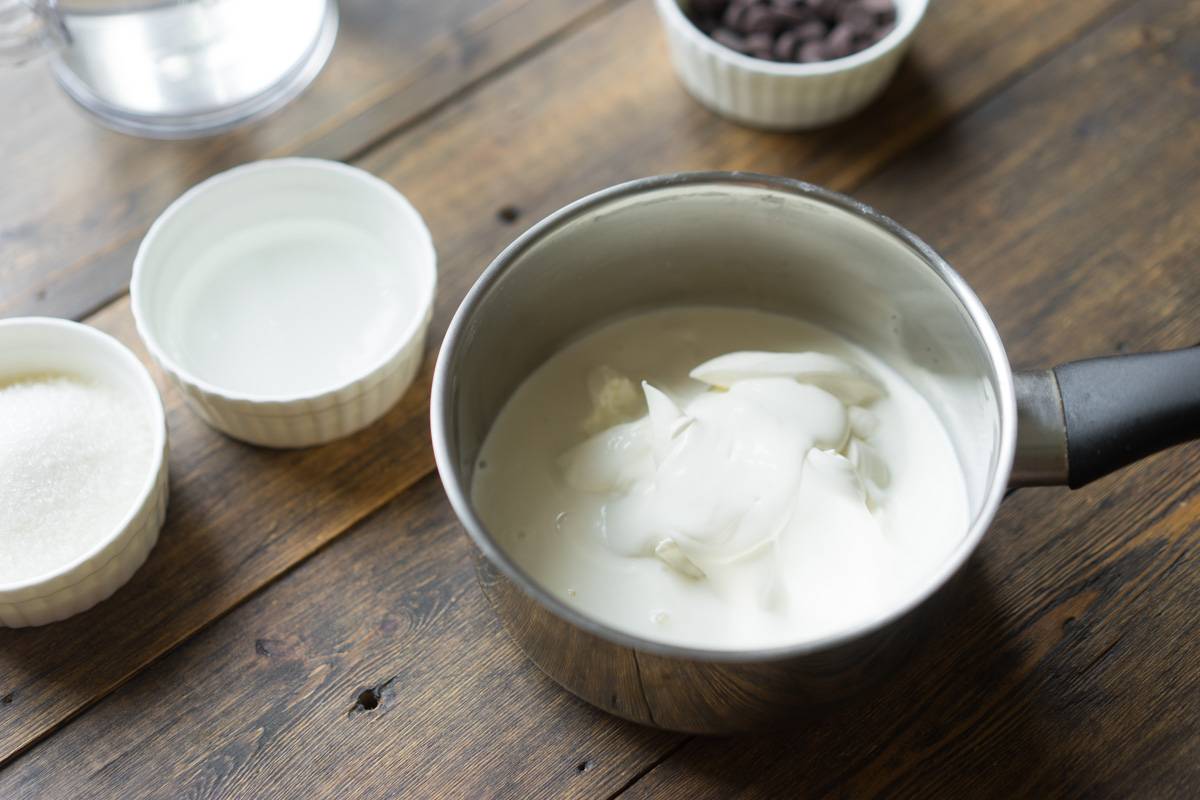
Place both pots on the stove. The cream should just gurgle quietly. But from sugar and syrup we cook caramel. 
In no case do not try to stir the mass, otherwise the sugar may crystallize and you will get a lollipop. You can only slightly move the stewpan itself so that the sugar disperses. 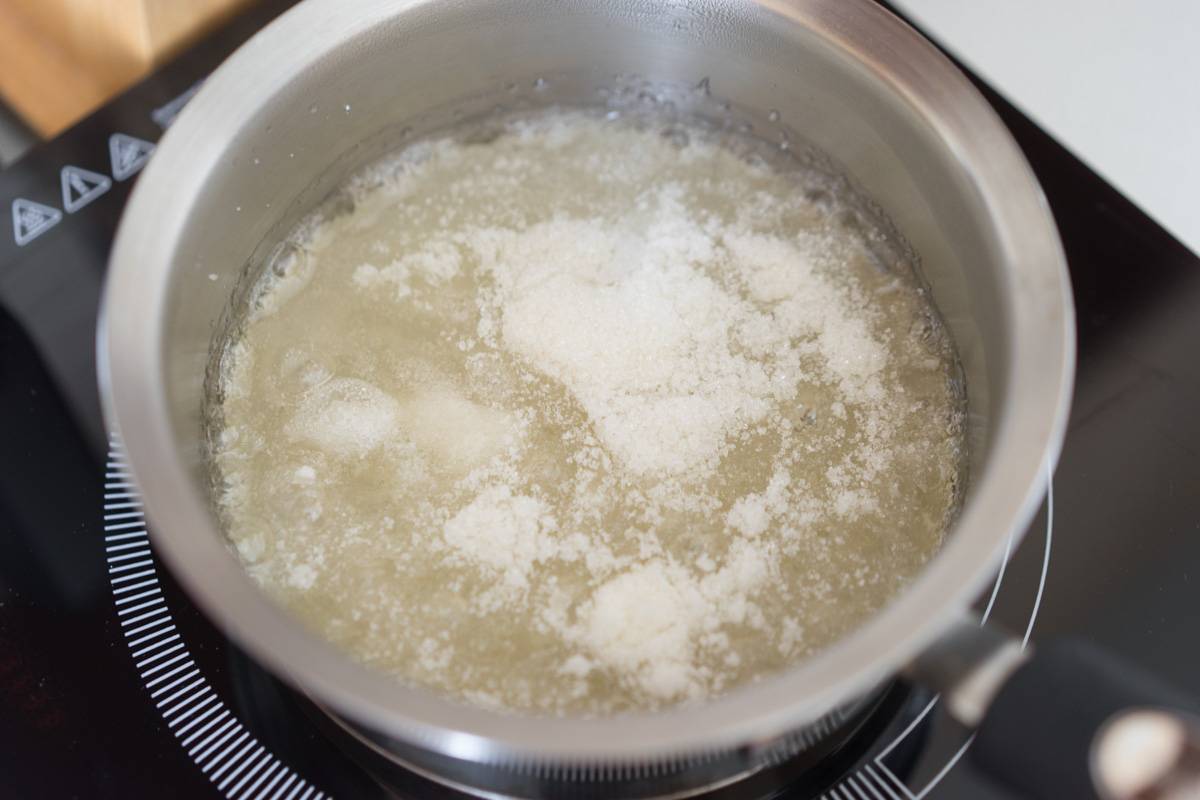
The sugar will gradually dissolve. We are waiting for the appearance of a characteristic caramel color (this is when the liquid began to turn yellow). 
We are waiting for about 173-175 degrees. 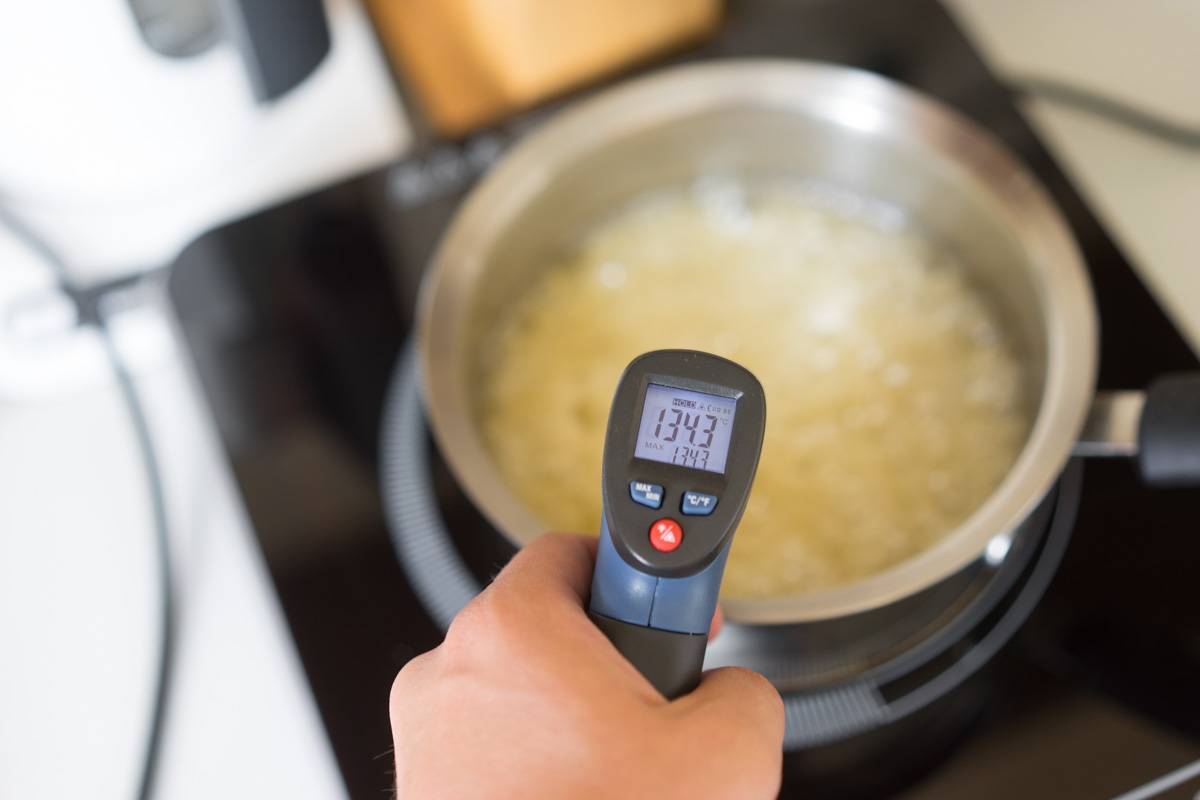
Remove from heat and gradually add boiling cream. A third was added, the mass began to foam, actively mix with a spatula. Then again and again. 
As a result, you will get a homogeneous dense caramel. 
Pour caramel over milk chocolate (75 g), pour it in a thin stream and stir, this is necessary so that the chocolate does not curdle. 
You should get a homogeneous smooth mass. If any lumps appear, then either the caramel has crystallized or the chocolate has curdled. Start all over again. 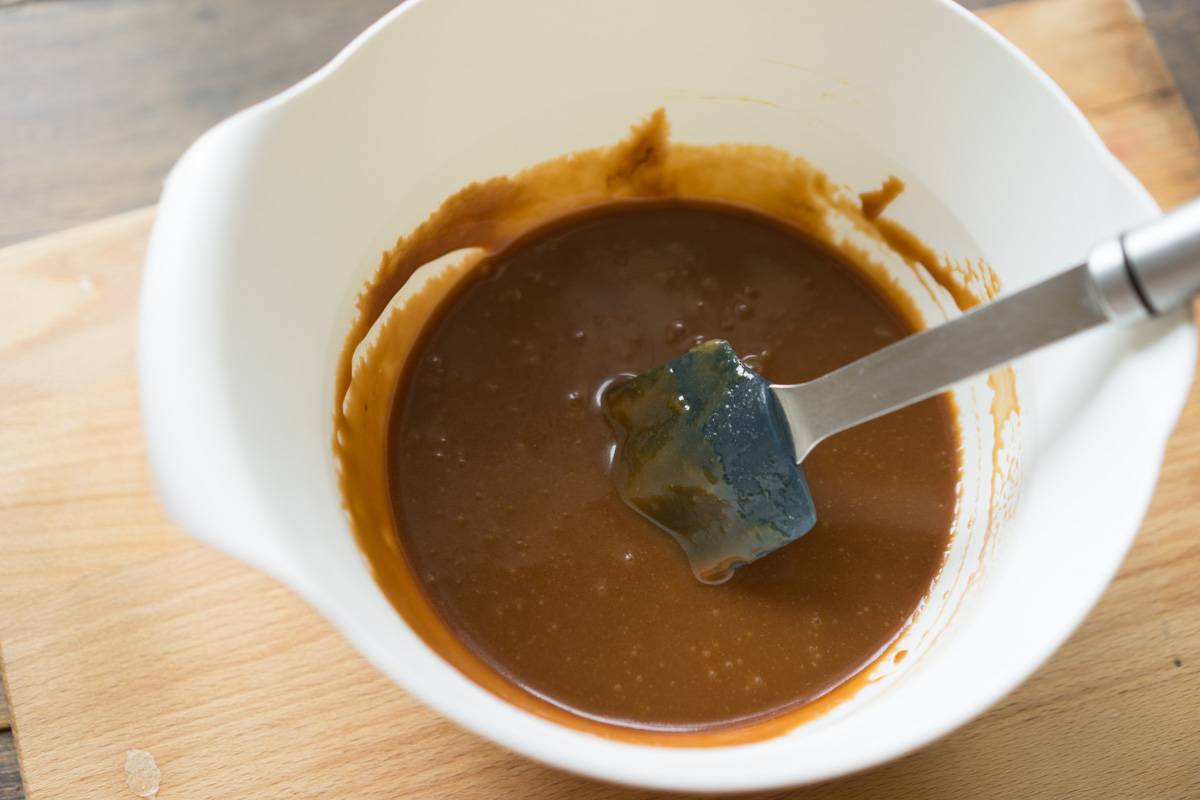
Enter gelatin. 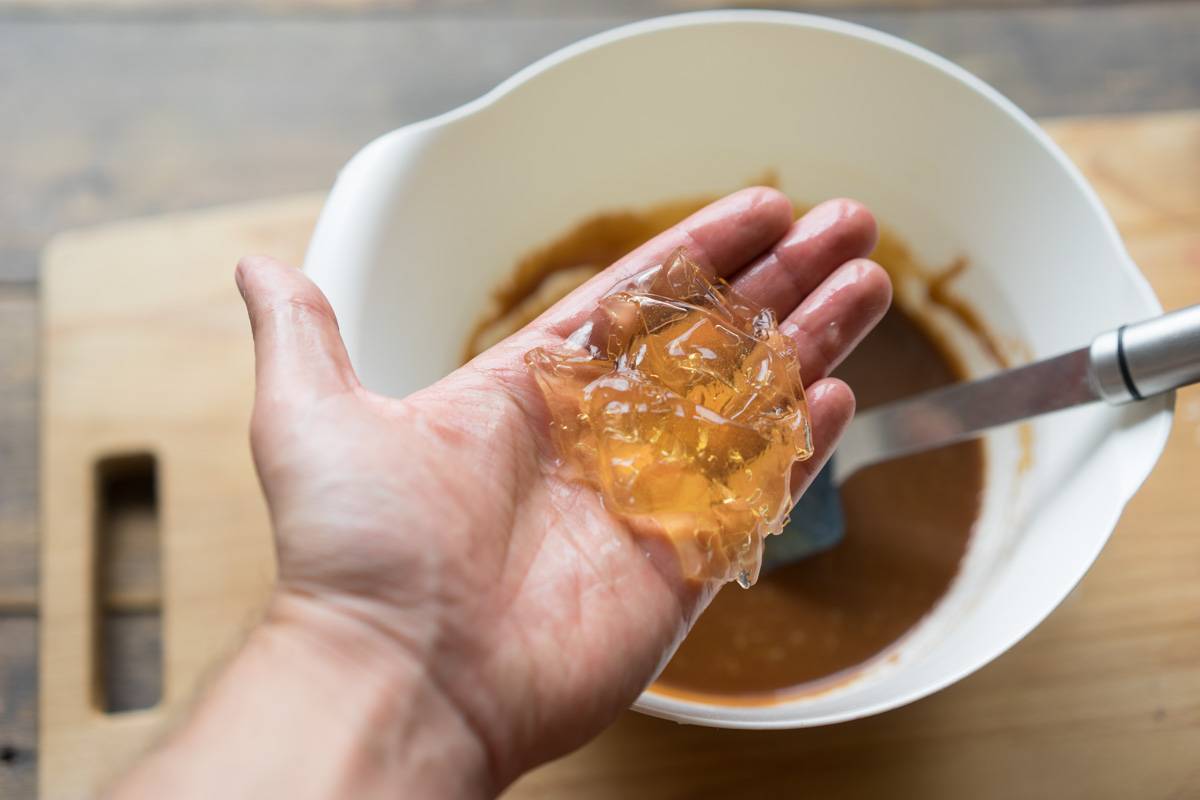
And half a teaspoon of golden kandurin (available in the store). It gives a light pearly sheen to the glaze. In cold-colored glazes, it makes sense to use silver kandurin. You can add other dyes (gel or dry), the only thing is to choose those colors that do not interfere with the caramel color of the glaze itself (red, orange, yellow, purple). 
Beat the frosting with an immersion blender. To do this, tilt the glass a little, gently insert the blender and chat with it a little (this is how we expel large bubbles). Without letting the blender tip rise above the surface of the glaze, punch the mass. Bubbles are evil, so we do everything at minimum speed and carefully. 
You will see reflections on the surface of the glaze. 
We are waiting for the glaze to cool to 40 degrees. Many complained in past recipes that the icing does not cool down. That's right, by itself it will cool down for hours. Therefore, you need to stir it every minute with a spatula or spoon, but so as not to blow extra bubbles. 
When the icing has reached operating temperature, arrange the cakes (or cake). We put a baking sheet, we cover it with a film (the collected glaze can be reused, you just need to collect it, heat it and punch it again with a blender). There is a grate on top, and cakes on it, they are icy with us. 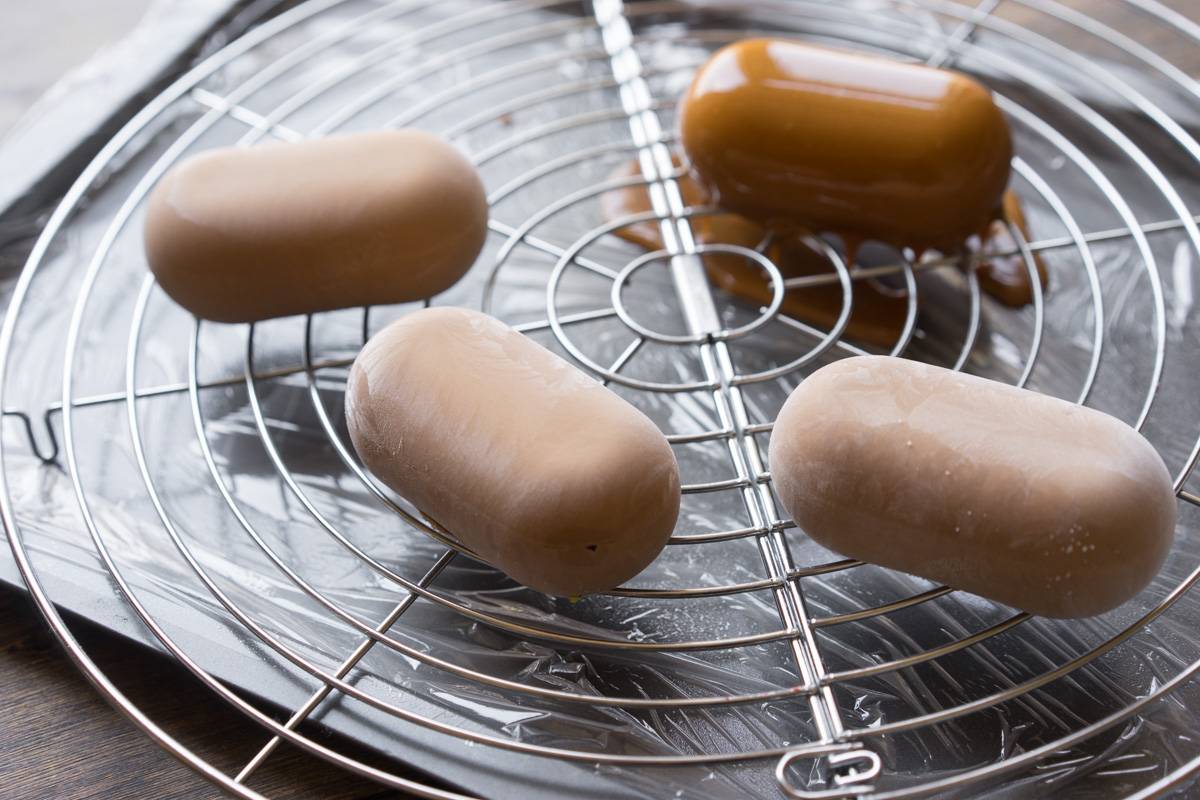
Pour the cakes quickly, in one go. The icing cools quickly and if you start watering the second layer, there will be lumps. You need to try to cover the cake in one motion. And pay attention to the viscosity of the glaze. It's pretty runny but holds up well.
As soon as the excess icing has drained (it will take a minute), we pry each cake from the bottom with a flat spatula, lift it up and roll it over the grate (this is how extra icing strands are removed from below). A detailed video is in the Eurasia recipe. We install cakes on a saber. 
As a decor, we took coffee beans and walked over the top with a brush with kandurin. Do not overplay, we do not need golden grains, but only a slight golden sheen. 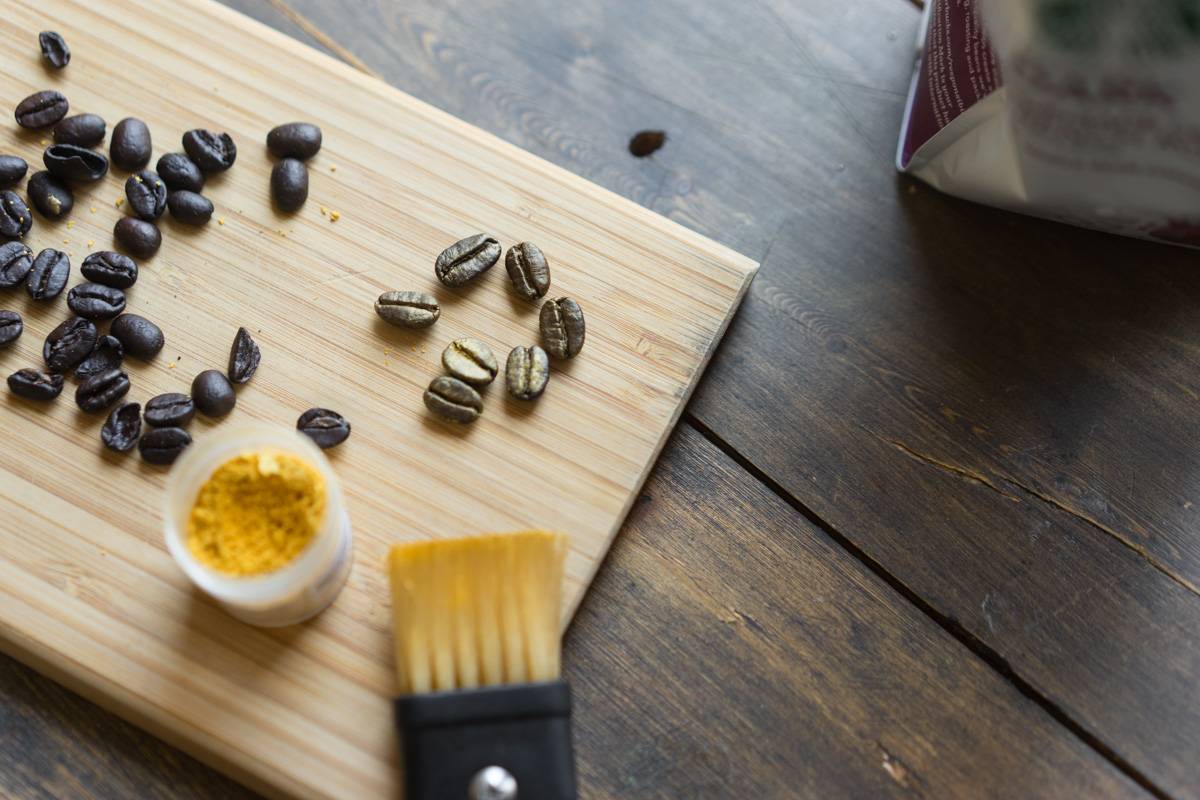
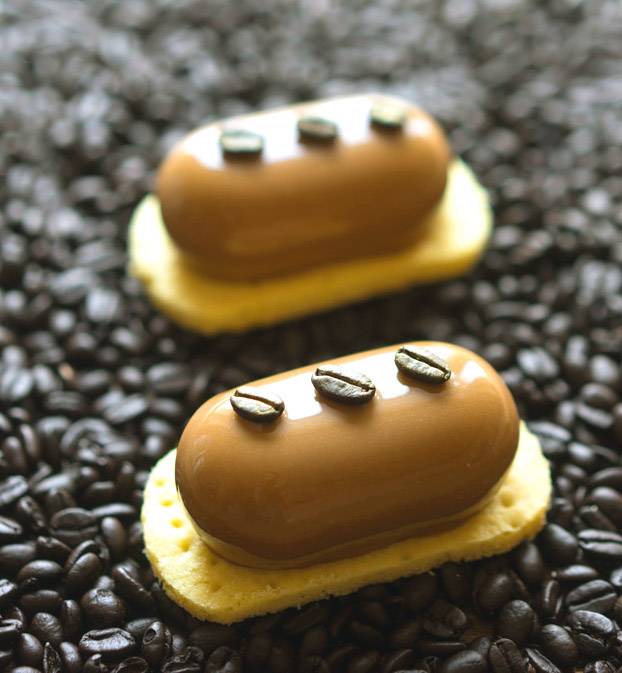
Here is the cut. Everything is as we intended it to be. 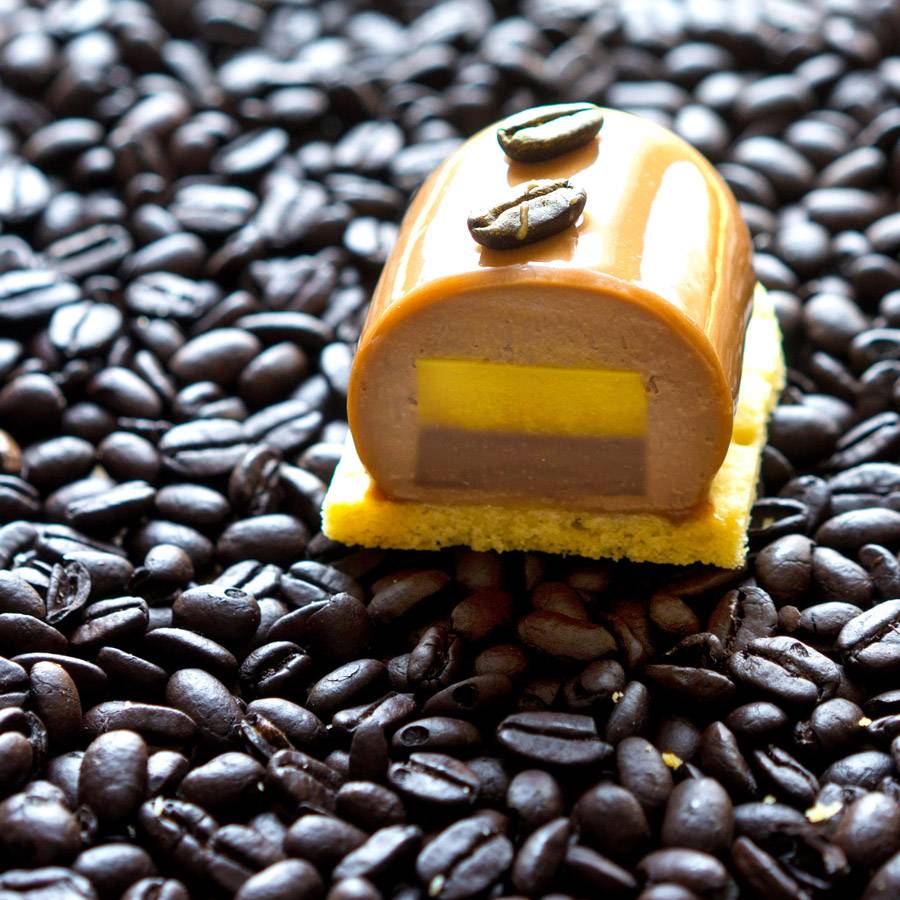
Good luck
I want to say that the dessert is both very simple and very complex. I followed all the steps the Conditoria told me and everything worked out well. It will be even easier for you, because I took the maximum number of photos and additional videos. All grams and minutes are verified, if you use scales, a thermometer and quality products - desserts will be the same or even better)
Do not forget that with outward simplicity, these desserts, nevertheless, are medium in complexity, which means that there may be slight difficulties. Don't despair and try again. When in doubt, do little. For example, make a few cakes with only mousse and biscuit, add confit in a couple more. And when you pour the icing, take one cake at a time, leave the rest in the freezer. Suddenly, something will not work with the icing, it will be possible to cook it again and try ready-made desserts on the second batch.
In any case, everyone can make such a dessert. Most of the tools and ingredients you might need are available in my .
An airy French dessert that literally melts in your mouth. This dessert will delight chocolate lovers. Coffee will give a special touch to the dessert. Cream - the fatter, the better. This dessert will not leave anyone indifferent.
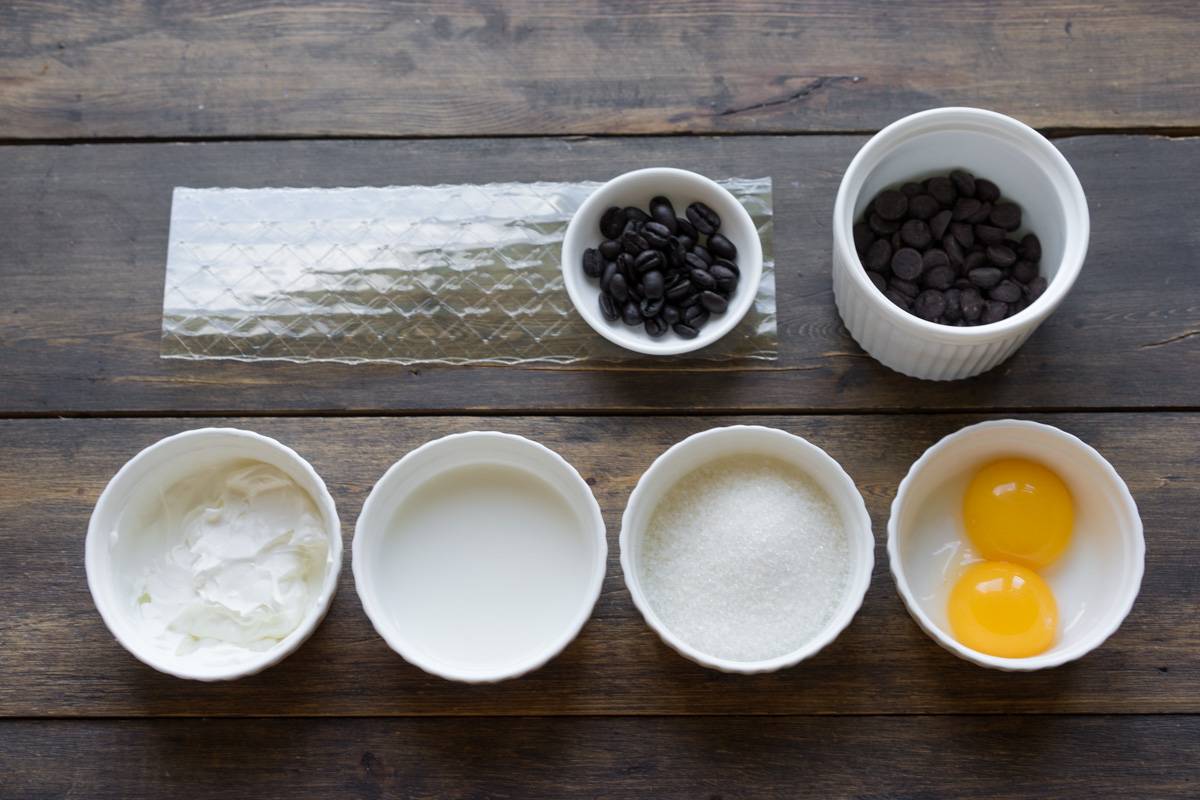
To prepare chocolate and coffee mousse, we need the products indicated in the list.
Break the chocolate into small pieces. We put the container with chocolate in a water bath and dissolve it while stirring.

Separate the eggs into yolks and whites.

Add half of the sugar to the yolks.

Beat the yolks with sugar into a fluffy foam.

Add coffee to melted chocolate. In the process, stir with a whisk.

Beat with a whisk until the chocolate is completely combined with coffee.

Add the egg mixture and cream to the chocolate-coffee mass, stir thoroughly.

Beat egg whites until stiff peaks.

Introduce the proteins in parts into the chocolate mass, while gently mixing so as not to plant the proteins.

Pour the finished mousse into bowls and refrigerate for at least 3 hours.

Decorate the finished chocolate-coffee mousse with chocolate powder.
- It is advisable to bake a biscuit for a cake in advance. To do this, beat soft, melted butter with a mixer until fluffy, gradually add sugar (leave a couple of spoons for egg whites).
- Separate the yolks from the proteins and drive into the butter cream, knead after each until smooth. While whipping the butter cream, pour in strong and slightly warm coffee, add vanilla sugar and beat at high speed until a homogeneous cream is obtained.
- Sift flour through a sieve along with cocoa powder, salt and baking powder into a separate bowl and stir. While stirring the oil-coffee mass, add the flour mixture to it and knead a homogeneous dough with a whisk.
- Beat the egg whites with a mixer at high speed until stable peaks (the mixer nozzles must be washed and dried). At the end, add sugar and knead until it is almost completely dissolved.
- Mix the protein foam with movements from top to bottom to the dough. Transfer the dough to a baking dish, having previously covered it with parchment paper or greased with butter and sprinkled with flour.
- Bake chocolate cake for half an hour at 180C. Take out the form, after complete cooling, transfer the biscuit to the wire rack and let it "wind" for at least 1-2 hours (it is better to leave it overnight, the biscuit with impregnation will turn out juicier and more tender).
- After the specified time, return the cake to a detachable form and soak it evenly with sweet, slightly warm coffee with alcohol.
- Prepare the cream mousse for the cake: mix the egg yolks with half the starch, mix until smooth and pour half the coffee in a thin stream.
- Add the second half of the starch and gradually pour in the remaining coffee. Pour milk into a saucepan, add 4 tablespoons of sugar and put on fire.
- While stirring the milk, bring it to a boil and pour it in a thin stream into the mixture of yolks with coffee and starch (while continuously kneading the yolk mass with a whisk).
- Pour the cream back into the pan, put on fire and boil until thickened over low heat, stirring constantly with a spatula or whisk. Remove the pot from the heat, cover with a lid and leave to cool completely.
- Pour gelatin with alcohol and leave for 15 minutes. Put the container with gelatin in a water bath and, stirring constantly, heat the mixture until the gelatin grains are completely dissolved (do not bring to a boil!).
- Remove the container from the water bath, cool and mix with lukewarm milk-based custard. While stirring, cool the cream completely (you can put the pan with the cream in a bowl of very cold water so that its level reaches half the pan).
- Beat the chilled cream with a mixer until fluffy and gradually mix them into the custard (do not let it harden, i.e. add the cream immediately after it has cooled).
- Beat the egg whites with a mixer until stable peaks and add the remaining sugar (2 tablespoons). Stir the protein cream into the creamy mass with gentle movements from top to bottom.
- Cover the soaked cake with the resulting coffee cream, cover the form with cling film and send it to the refrigerator for at least 4-6 hours. It is better to leave the coffee mousse cake overnight.
- Remove the finished cake from the refrigerator, remove the film and split ring, decorate the surface with melted and slightly warm chocolate or coffee beans. Bon appetit!
Chocolate and coffee mousse is the most delicate dessert with a divine taste, moderately sweet, with a pleasant bitterness of dark chocolate and a delicate aroma of coffee. Such a mousse is the most suitable dessert for a New Year's feast, since the meal ends well after midnight, a serving of chocolate and coffee dessert will be a good alternative to a piece of cake with coffee, which will be more beneficial for your figure. If you decide to make chocolate and coffee mousse for the New Year, then you need to correctly calculate the time, because the layers should have time to cover properly. I advise you to start the process of making mousse in the morning. While the layers of mousse alternately solidify in the refrigerator, you can prepare other dishes. The recipe is not complicated, but you will have to make a little effort in preparing the dessert, but the result will exceed any of your expectations. Coffee and chocolate connoisseurs will be grateful to you.
Chocolate coffee mousse - recipe.
For cooking we need:
- cream (30% fat) - 0.5 l;
- milk - 0.5 l;
- dark chocolate bar;
- coffee;
- vanilla;
- gelatin - 2 tbsp. l.;
- sugar to taste.
Prepare all ingredients. Brew strong coffee (1 cup). Whip cream with sugar and vanilla (preferably natural). Add sugar to taste. Store whipped cream in the refrigerator so that it does not settle. Boil milk.
The first layer of our mousse should be chocolate. To do this, melt a bar of chocolate with the addition of milk in a steam bath, leave a few slices to decorate the dessert. In a glass of hot milk, dissolve a tablespoon of instant gelatin. Gradually pour the milk into the chocolate, stirring constantly. Do not bring to a boil. The mass should be homogeneous, without lumps, dark chocolate color. Cool the finished mass, add a few tablespoons of whipped cream and mix gently. Put a layer in a portioned glass (preferably transparent dishes). Put in the refrigerator until completely solidified. When turning the glass, the mass should remain in its place.
While the first layer hardens, prepare the second. Repeat the process with milk and gelatin. Pour in coffee. Cool down. Add a few tablespoons of cream (for airiness). Knead without fanaticism, the cream should not dissolve in the mass. Put on top of the chocolate layer and leave in the refrigerator. The coffee layer should be lighter than the chocolate layer.
When the dessert layers are well solidified, put whipped cream on top with a syringe and sprinkle with grated chocolate. Chocolate coffee mousse is ready.

Tip: If you are making this dessert in clear glasses, decorate the rim of the glass with sugar frosting. It looks very impressive on the table. The glass should be dipped in raw protein, then in sugar and allowed to dry. Then carefully build the mousse itself.
Bon appetit everyone!
Author: Lilia Purgina
You can also cook for loved ones.